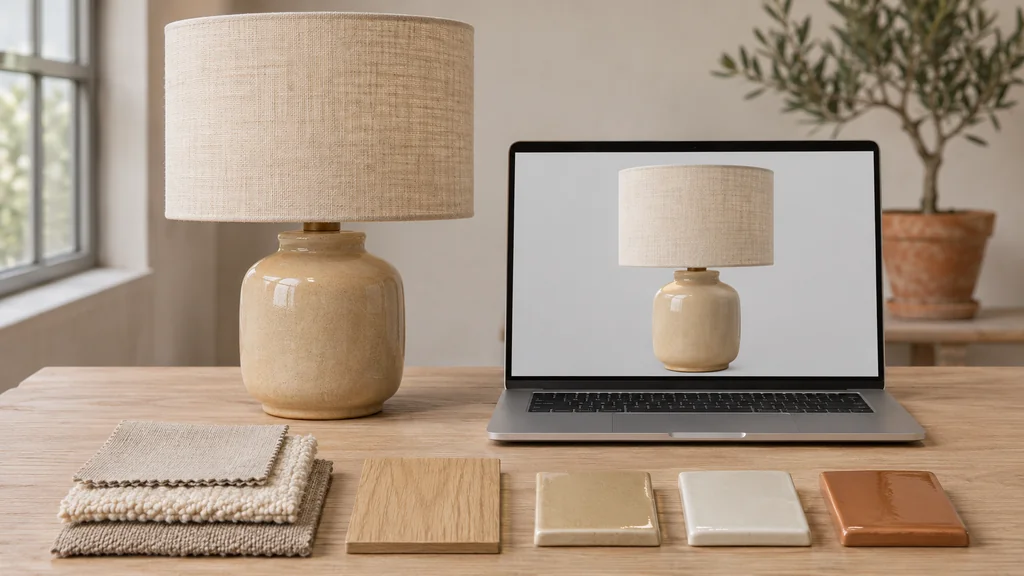
3d modeling for ecommerce is the process of building a dimensionally accurate, photorealistic three-dimensional digital twin of a physical product so an online store can generate studio product renders, interactive 360-degree web viewers and Android AR previews (.glb), iPhone and iPad AR previews (.usdz), and product animations from a single reusable asset.
If you are a store owner, brand manager, or ecommerce lead commissioning 3D models for the first time, you should not need to learn 3D software to manage the project.
Here is the end-to-end walkthrough of how we run ecommerce modeling projects at 3D Vision Art.
Why Ecommerce 3D Modeling Is Different From Manufacturing CAD or Game Art
Store owners often ask why they cannot drop their factory's engineering CAD file directly onto a Shopify page, or why a cheap stock 3D model looks wrong in a product gallery.
- Manufacturing CAD is built for the factory, not the browser: Engineering files describe every screw, internal bracket, and tolerance, but they usually carry no realistic materials and are far too heavy to load on a product page. Stock or game-style models have the opposite problem: they can look convincing at a glance, but they are rarely built to your product's exact dimensions, finishes, or SKU details.
- Ecommerce 3D models balance visual accuracy with web speed: A production ecommerce model strips out unseen internal parts, rebuilds the visible shell into clean polygon geometry, applies physically based rendering (PBR) materials calibrated against your real product, and exports both a high-resolution master for 4K still rendering and a lightweight real-time version for your live product page. Shopify's 3D modeling standards ask for a polycount that is as low as possible while keeping the product's details, textures no larger than 2048 × 2048 px for mobile web, and a total file size of about 4 MB.
In some cases an existing CAD file or a stock model can be adapted for a product page at lower cost than modelling from scratch. A new ecommerce model is worth commissioning when the existing file is too heavy, carries no realistic materials, or does not match your product's actual dimensions and finishes.
Step 1: What to Send the 3D Studio (With or Without CAD)
You do not need a complicated technical specification to start. Depending on how your product is manufactured, you will take one of two input paths:
Path A: If You Have Engineering CAD Files
If your hardware, appliance, enclosure, or furniture frame was designed in CAD, send the .STEP (.stp), .IGES, SolidWorks, Rhino, or .OBJ/.FBX export.
Along with the files, tell the studio:
- Which SKU configuration the model should show (and which internal parts can be deleted).
- Where physical samples override the CAD (for example, if a rubber grip or fabric cushion looks different on the finished product than in the early engineering drawing). For a complete checklist on preparing engineering files, read our studio guide on CAD data handoff for product visualization.
Path B: If You Do Not Have CAD (Photos & Measurements)
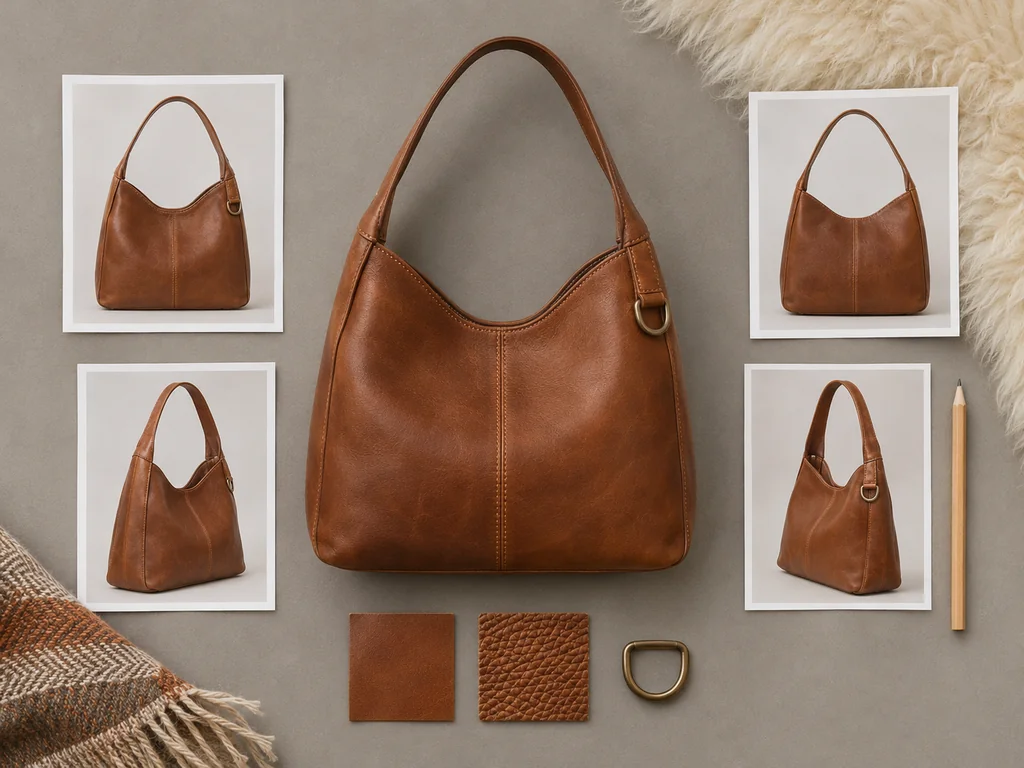
Many consumer goods—upholstered furniture, handbags, footwear, ceramics, soft goods, and hand-crafted items—do not have usable CAD files. As we explain in our guide to product modeling without CAD: working from photos and drawings, a studio can build a model that is visually accurate within the limits of the supplied references when you supply four simple items:
- Multi-angle reference photos: Clear, evenly lit photos of the front, back, both sides, top, and bottom, taken as straight-on as possible so the studio can read the product's true silhouette.
- Overall dimensions (Width × Depth × Height): Measured in millimeters or centimeters, plus any key secondary measurements (such as seat height, handle drop, or base diameter).
- Close-up material photos: Macro shots in neutral daylight showing fabric weave, leather grain, wood direction, or brushed metal finish—ideally with a ruler in one shot so the texture scale is exact.
- Flat artwork files for labels and logos: Vector
.SVG,.AI,.PDF, or high-resolution.PNGfiles for any printed text, dials, badges, or packaging labels.
| Input Item | Why the 3D Studio Needs It | What Happens If It Is Missing |
|---|---|---|
| Front, Side, Back & Bottom Photos (or CAD) | Establishes true 3D silhouette and rear/underside details for 360° orbit. | Unseen back or bottom panels cannot be verified for full 360° web viewing. |
| Exact Outer Dimensions (mm / cm) | Locks the model to 1:1 meter scale (1 unit = 1m) for mobile AR placement. |
Without reliable measurements, an AR preview is more likely to appear at the wrong physical size in a room; the final display also depends on the viewer and device settings. |
| Close-Up Material & Finish Photos | Calibrates PBR Base Color, Roughness, Metallic, and Normal maps. | Surfaces risk looking too glossy, too flat, or mismatched in texture grain scale. |
Vector Logo & Label Files (.svg / .ai) |
Keeps brand typography and dials razor-sharp when shoppers zoom in. | Logos reconstructed from blurry photos look pixelated on close inspection. |
| Complete SKU Variant List | Lets the artist structure UV maps and material slots once for all finishes. | Adding variants later may require re-unwrapping parts that could have been planned upfront. |
Step 2: How the Review Process Works (How Staged Approvals Help Reduce Rework)
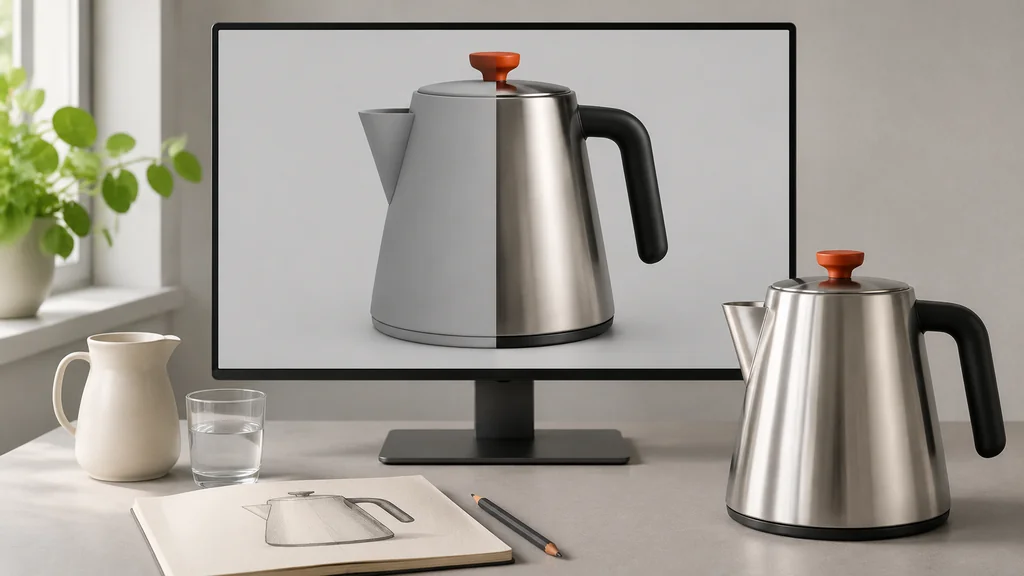
When you commission 3D modeling from an experienced studio, production moves through two clear sign-off gates, so shape and material problems are caught early instead of at the end. Staged approvals help reduce rework; they cannot eliminate it entirely, because new information or a change of direction can still require revisions.
Gate 1: Clay Geometry & Proportion Sign-Off
First, the artist builds the 3D geometry and sends you clay renders—clean, neutral grey views of the model from multiple angles (alongside wireframe views if needed).
At this stage, you only check shape: overall proportions, edge roundness, part seams, buttons, and any feature that must match the physical product. Materials and colors come later, so you are not asked to judge a grey model on finish.
Gate 2: Material Look-Development (PBR) & Technical Validation
Once you approve the geometry, the artist unwraps the UV coordinates (the layout that maps flat texture images onto the model's surface) and authors the physically based rendering (PBR) materials—calibrating how Base Color, Roughness, Metallic, and Normal maps respond under neutral studio lighting and the Khronos PBR Neutral Tone Mapper. Tone mapping helps previews look consistent; it does not by itself guarantee that a material will look identical in every viewer and on every device, which is why the exported file still needs testing in the viewers you will actually use.
Before delivering the files, we validate the exported .glb against the official Khronos glTF 2.0 specification and inspect it inside our browser-based GLB Studio Pro workspace to confirm that:
- The file size, triangle count, and texture dimensions (
<= 2048 × 2048 px) meet the agreed mobile web budget. These figures are practical targets for typical product pages, not universal limits; a more complex product may need a different balance. - The product sits flat on the virtual floor (
Y = 0) and measures true 1:1 physical size in meters, so it doesn't float or sink in AR. - Material channels, transparencies, and optional animations are tested in the target web WebGL and mobile AR viewers before delivery.
Step 3: What You Get Back (Your Deliverable Package)
What you receive depends on the scope agreed in your quote—whether you commissioned models for interactive web/AR viewing, studio rendering, or both. Not every project automatically includes every format below, and the editable master files are included only if they are in scope. Where both renders and AR are in scope, one high-detail master model is built for renders, and the web/AR version is an optimization of that model; if you only need AR from the start, the model is built for AR directly.
A complete ecommerce delivery package can include:
- Web & Android AR Deliverable (
.glb): A single, self-contained binary glTF 2.0 file (typically2 MB to 4 MB) ready to upload to Shopify product media, to WooCommerce through a 3D/AR viewer plugin (WooCommerce has no built-in 3D model field), or to any page using Google<model-viewer>. On Shopify, uploading the.glbalone is enough: Shopify automatically creates the.usdzversion for Apple devices. - Apple iOS AR Deliverable (
.usdz): A scale-matched, material-verified OpenUSD package ready for Apple AR Quick Look on iPhone and iPad.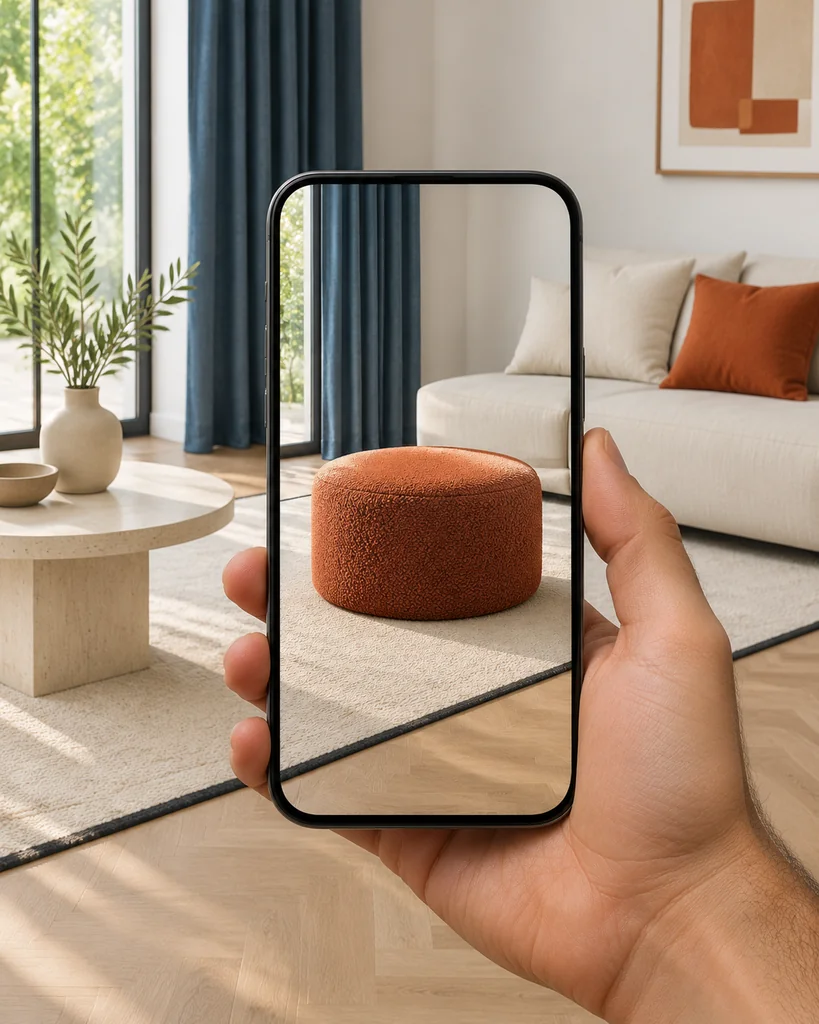
- High-Resolution Studio Renders (if included in scope): 4K white-background packshots, transparent PNG/WebP cutouts, or lifestyle scenes rendered from the master model.
- Editable Master Files (if included in scope): The high-resolution source model (for example
.blend,.ma/.mb, or.fbx) with its full-resolution PBR texture maps, so future colorways, renders, or updates don't have to start from scratch.
Step 4: How Long Does 3D Modeling for Ecommerce Take?
Exact timelines depend on three things: how complex the product is, how complete your references are, and how quickly your team signs off at each review gate. Your quote should state the schedule for your specific products. As a rule of thumb:
- Simple products or packaging (single SKU): Move fastest, because the geometry and materials are straightforward.
- Medium-to-complex consumer products, furniture, or appliances: Take longer for the first master SKU, because clay review and material look-development each need a sign-off.
- Additional colorways or material variants of an approved model: Are much quicker than the first model, because the master geometry is already locked.
- Multi-SKU catalog batches: Run in overlapping waves, where geometry for the next batch is modeled while your team reviews materials on the previous one.
Frequently Asked Questions About 3D Modeling for Ecommerce
What is the best file format for ecommerce 3D models?
For live product pages, .glb (the binary package of Khronos glTF 2.0) is the most widely supported format for web 3D viewers such as Google's <model-viewer> and for Android AR, paired with .usdz for Apple AR Quick Look on iPhone and iPad. For archiving the editable master model, formats like Blender (.blend), Maya (.ma/.mb), or .fbx with separate 4K PBR texture maps are used.
Can you model a product before our factory finishes manufacturing the physical sample?
Yes—that is one of the biggest advantages of 3D modeling for ecommerce. If you have engineering CAD files, technical drawings, and material swatch references, we can build the 3D model and render your launch gallery weeks before the first physical inventory arrives from the factory. When the first production sample does arrive, compare it with the renders and update any color or finish that changed in production before those images go live, so your product page matches what customers actually receive.
How accurate are 3D models built from photographs instead of CAD?
When you provide orthographic reference photos (front, side, back, top) alongside exact outer millimeter measurements, an experienced modeler can match the physical product's proportions and silhouette with high visual precision. The dimensions recorded in the model can be set to the exact measurements on your spec sheet; curves and details the photos do not show cannot be verified from photos alone, and may need extra reference photos or a physical sample check. Details the photos cannot show, such as hidden undersides or internal mechanisms, are modeled from your notes or left out if they are never visible to shoppers.
How can we review the .glb file ourselves if we don't have 3D software installed?
You never need to install 3D software to review our work. You can drag and drop any .glb file directly into our free online GLB Viewer on 3D Vision Art to orbit the model in your browser, test lighting, check polygon counts, and inspect every texture map.
Ready to Commission Ecommerce-Ready 3D Models for Your Catalog?
If you want this done for your products—whether you are starting from engineering CAD files or reference photos and need clean, accurate 3D assets built for studio renders, web viewers, and mobile AR—explore our 3D Product Modeling Services. Every model goes through the same modeling, retopology, UV unwrapping, and PBR texturing workflow, with the same precision seen in our Ford Mustang and SAR 700 commissions.
Send us your product references and tell us what you need modeled.
Get a Free Quote ↗