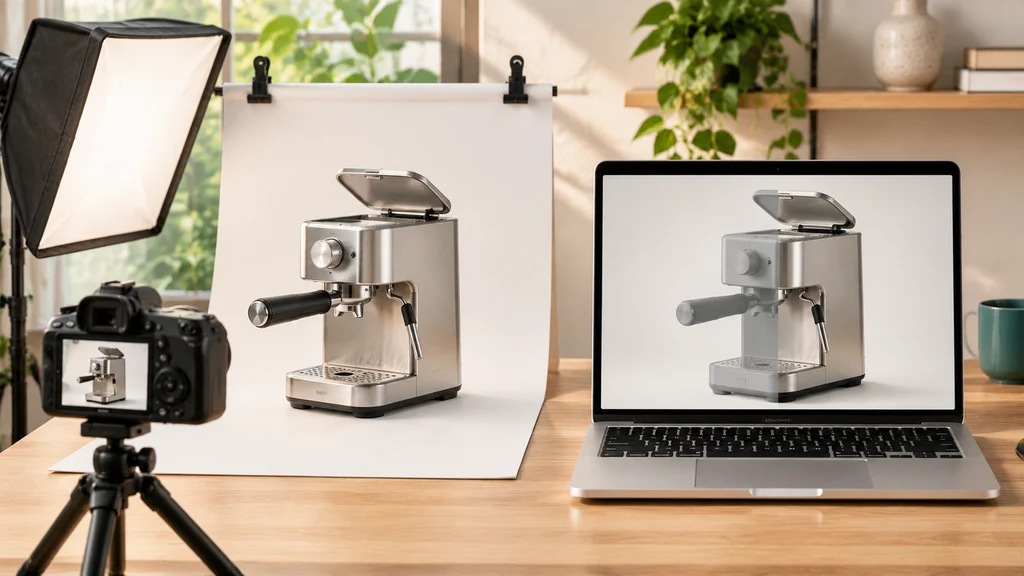
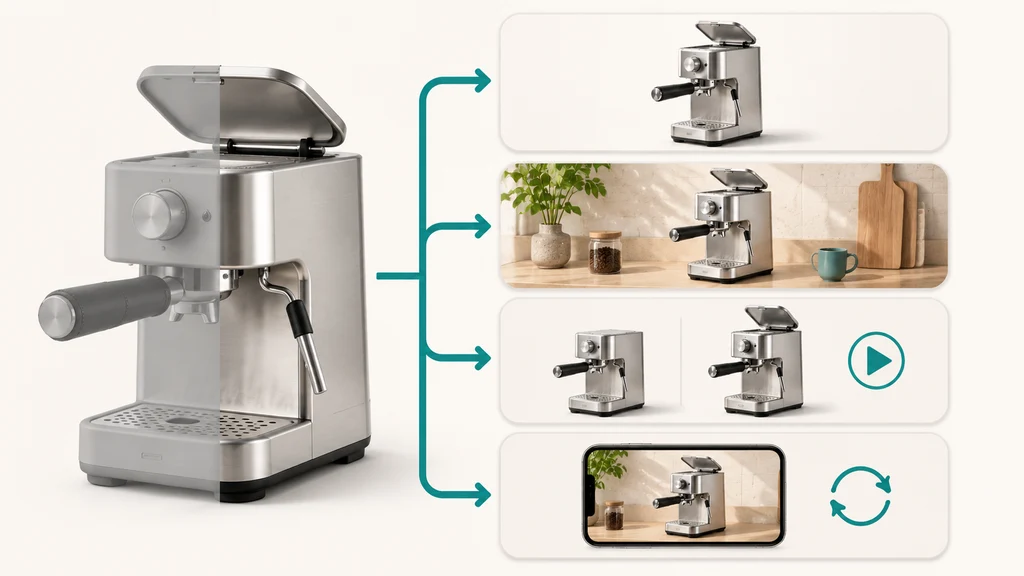
What is 3d product visualization? For an online store owner or brand manager, 3D product visualization means building an accurate 3D copy of your product on a computer, then using it to produce your store's visuals: product photos, lifestyle scenes, short videos and, if you want them, interactive 3D and AR views. You build the model once and reuse it, instead of reshooting every color, angle or design update.
As defined in Unity's industry glossary and Fibbl's ecommerce visualization guide, it replaces or supplements traditional camera photography with computer-generated imagery (CGI). When it is done well, the result can look very close to a studio photograph — and you can check that on test renders before the final images are made — while giving your brand a reusable master asset that can generate new angles, colorways, and interactive web views from the same model.
If you sell physical products online and are trying to understand what 3D product visualization actually involves (without getting buried in 3D artist software jargon), here is how it works from a business buyer's perspective.
Plain-English Definitions: Modeling vs. Rendering vs. Interactive 3D
When you talk to agencies or studios, you will hear several terms used interchangeably. Here is what each one actually means for your store and your budget:
| Term You Will Hear | What It Means in Plain English | What You Put on Your Product Page |
|---|---|---|
| 3D Product Modeling | Building the 3D shape (geometry) of your product on a computer—like sculpting a digital prototype in clay—using the dimensions in your CAD file or spec sheet. | Nothing yet—the raw 3D geometry is the foundation required before materials, lighting, or web files can be made. |
| Materials & Look (PBR Texturing) | Applying realistic physical surface properties—telling the computer which parts are brushed steel, matte plastic, woven fabric, or clear glass. | Ensures your product's colors, gloss, and surface grain match your real physical samples under different lighting. |
| 3D Product Rendering (Still CGI) | Setting up virtual studio lights and cameras around the 3D model and taking high-resolution 2D pictures of it. | Standard .PNG, .WebP, or .JPG images (packshots, macro close-ups, and lifestyle scenes) that drop into any image gallery. |
| 3D Product Animation | Moving the virtual camera or the product's parts over time—such as opening a lid, folding a frame, or slicing open a cutaway view. | Short .MP4 or .WebM videos explaining how a mechanism works. |
| Interactive 3D Viewer & WebAR | Exporting a lightweight, real-time version of the 3D model (.glb and .usdz) that runs live inside the customer's web browser and phone camera. |
An interactive 360° player on your product page where shoppers spin the item and tap "View in your space" for 1:1 room AR. |
How a 3D Product Visualization Project Works From Start to Finish
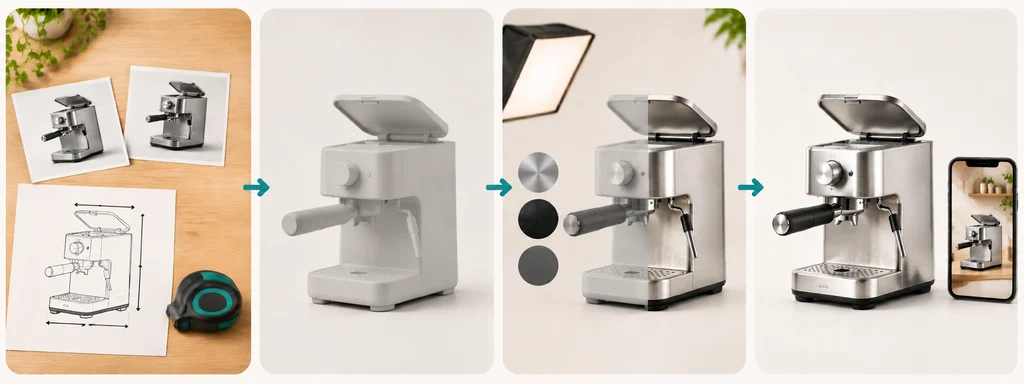
You do not need to ship crates of inventory or rent a photography studio to create 3D product visuals. Whether we are visualizing a consumer appliance, a piece of furniture, or a complex mechanical assembly like our Ford Mustang and SAR 700 studio projects, every project follows four clear stages:
Stage 1: Reference Handoff (CAD or Photos + Dimensions)
You send the studio your product references. If your engineering team has 3D CAD files (.STEP, .IGES, SolidWorks), those provide the exact mechanical shape. If you do not have CAD files, clear reference photos from several angles plus the product's real dimensions work instead — and the photos need to include the sides people rarely photograph, such as the back and underside.
Stage 2: 3D Modeling & Clay Approval
The 3D artist builds the digital geometry and sends you untextured grey "clay" renders. Reviewing the model in plain grey allows you to verify that every proportion, bevel, seam line, and component matches your physical product before any time is spent on colors or lighting. The model is usually built by an artist from your CAD files or reference photos; some products can also be captured by scanning, and the right route depends on the product.
Stage 3: Material Calibration & Virtual Studio Lighting
Once the shape is approved, the artist builds the materials and places the model inside a virtual lighting studio (or a custom 3D lifestyle room). You review test renders to confirm that the leather grain, wood veneer, anodized metal, or glass refraction matches your real product—following the structured review gates we outline in our guide to product visualization acceptance criteria: reviewing a render before it reaches the product page.
Stage 4: Final Rendering & Multi-Channel Export
With the look approved, the studio renders your full shot list at the resolution you need across all your SKU colorways. For reference, Shopify recommends 2048×2048 px for square product images, and larger master files are useful for zoom, crops and other channels. If your scope also includes interactive web and AR viewing, the studio optimizes the geometry and bakes the textures into a compact .glb file (standardized by the Khronos Group glTF 2.0 specification) and a .usdz file for Apple AR Quick Look.
When Should a Store Choose 3D Visualization Over Traditional Photography?
We never tell store owners that 3D replaces every camera on earth. If you run a vintage clothing shop where every garment is a one-of-a-kind physical item, or if you are shooting a story about the person who started the business with live human actors, use a real camera.
However, 3D often makes more sense than photography when your business faces one of these five situations:
- You sell products in multiple colors, finishes, or modular options: In a physical shoot, adding 6 new colorways means manufacturing and shipping 6 new samples and rebooking the studio. In 3D, once the master model is built, new colorways or material finishes are re-rendered from the same model instead of reshot.
- You need marketing visuals before factory inventory arrives: Because 3D visualization can start from CAD drawings or a single early prototype, you can launch pre-orders, pitch retail buyers, and build your product pages weeks before mass production finishes.
- Your products are heavy, oversized, or hard to light in a real studio: Furniture, industrial machinery, appliances, and highly reflective products (chrome, glass, jewelry, watches) can be slow and expensive to transport, stage, and retouch in a physical shoot — and they are tricky in 3D too, because chrome and glass are hard to capture convincingly in either medium. The advantage of 3D here is reuse, not an easier first shot.
- You want to show what is inside the product: A physical camera cannot easily shoot an exploded view of a water filter or a smooth cutaway animation of an internal motor without sawing a prototype in half. In 3D, exploded views and cutaway animations are done without cutting a prototype apart.
- You want interactive 3D and Augmented Reality on your product pages: A photo shoot gives you flat images (a turntable photo spin is still a set of photos). A 3D visualization pipeline gives you both your 2D image gallery and the 3D assets needed for Shopify's native 3D viewer, Google
<model-viewer>, and mobile AR—where, in a 2020 survey by The Harris Poll, commissioned by 3D software company Threekit, 60% of the 1,869 U.S. adults who shop online said they would be more likely to buy a product shown in 3D or AR, as cited by Fibbl. It is a self-reported, vendor-commissioned survey, so treat it as a signal rather than a promise.
If you sell a few simple products in one color and rarely change them, a photo shoot is often simpler. 3D pays off through reuse: many colorways, frequent updates, products that do not exist yet, or interactive 3D and AR.
How to Evaluate a 3D Visualization Studio Before You Hire Them
Not every 3D portfolio translates to reliable ecommerce production. Before signing a project scope, check four practical details (which we cover in depth in our buyer's guide on how to evaluate a 3D product rendering service before you start production):
- Look for material accuracy in your category: Can the studio show clean edge reflections on hard-surface products, believable fabric weaves, and crisp, readable product labels?
- Ask about their review stages: Do they separate clay geometry approval from material and lighting approval so you aren't hit with surprise revision fees?
- Verify their web 3D technical standards: If you need
.glband.usdzfiles in addition to still images, do they check their.glbfiles against the Khronos glTF Validator — which checks that the file is valid, not how good it looks — and check.usdzfiles separately, and optimize texture sizes for mobile browsers? - Confirm deliverable specifications upfront: Make sure your agreement spells out exact image resolutions, background types (white
#FFFFFF, transparent alpha, or lifestyle), and file formats.
Frequently Asked Questions About 3D Product Visualization
Is 3D product visualization only for 360-degree spinning models on websites?
No. For many stores, the most common output of 3D product visualization is photorealistic 2D still imagery—white-background packshots, close-up detail crops, and styled lifestyle room scenes that look just like studio photographs.
What is the difference between 3D rendering and CGI?
They are not the same thing. CGI (Computer-Generated Imagery) is the broad umbrella term for any visual created digitally, while 3D product rendering is the specific step of calculating lighting, shadows, and reflections on a 3D product model to produce finished images or animations.
Do we need a special website plugin to use 3D product renders?
For 2D still renders (.PNG, .WebP, .JPG) and product animation videos (.MP4), you need zero plugins—they upload into your store's image gallery just like ordinary photos and videos.
For interactive 3D and AR, it depends on your platform: Shopify accepts .glb and .usdz files directly, and other platforms use Google's open-source <model-viewer> or an external viewer. Your studio should deliver files your platform can actually use.
What if our product design changes slightly next year?
Unlike a physical photoshoot—where a changed button or updated logo forces you to reshoot everything from scratch—a 3D studio simply updates the affected part or label artwork inside the master 3D scene and re-renders the affected views.
What does 3D product visualization cost?
It depends on the product and what you need from it — see "What Decides the Cost" below. There is no fixed price per product, so we quote after seeing yours. Send us a link or a few reference photos and we will give you a free quote.
What Decides the Cost of 3D Product Visualization?
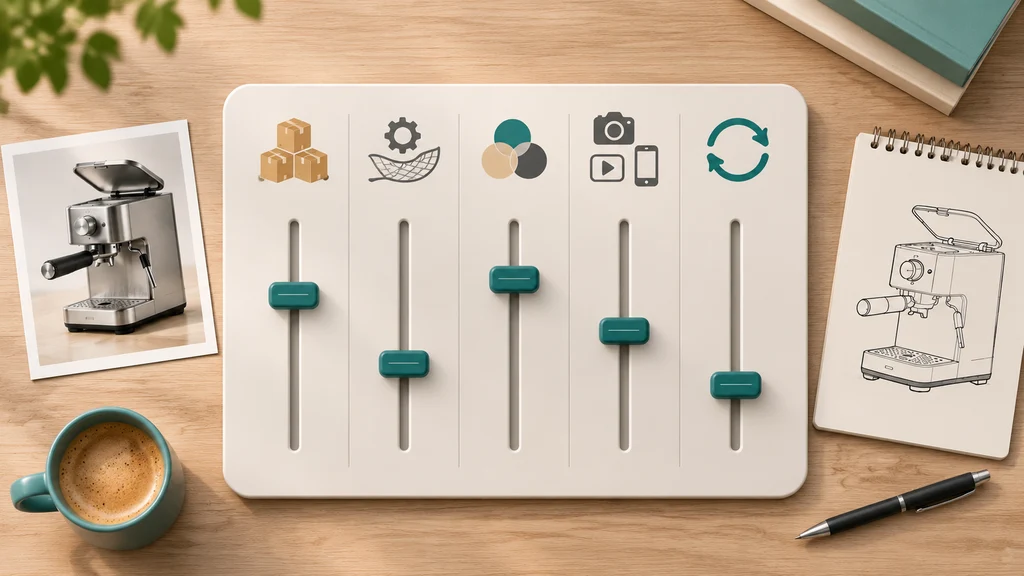
What decides the cost? Mainly the number of products, how complex their shapes and materials are, how many colors and variants you sell, which outputs you need (still images, lifestyle scenes, animation, interactive 3D or AR), how good your references are (CAD files or detailed photos with dimensions), and how many revision rounds you need. Because these change from product to product, we quote after seeing yours. Send us a link or a few reference photos and we'll give you a free quote.
Want Photorealistic 3D Product Visuals Built for Your Store?
If you want photorealistic product images made from your CAD files or reference photos, see our 3D Product Rendering Services. Need interactive 3D or AR as well? Mention it in your quote request. At 3D Vision Art, Khaled Mansour works directly with store owners and brand teams to turn CAD files or simple reference photos into consistent product imagery.
Tell us what you sell and what visuals you need.
Get a Free Quote ↗