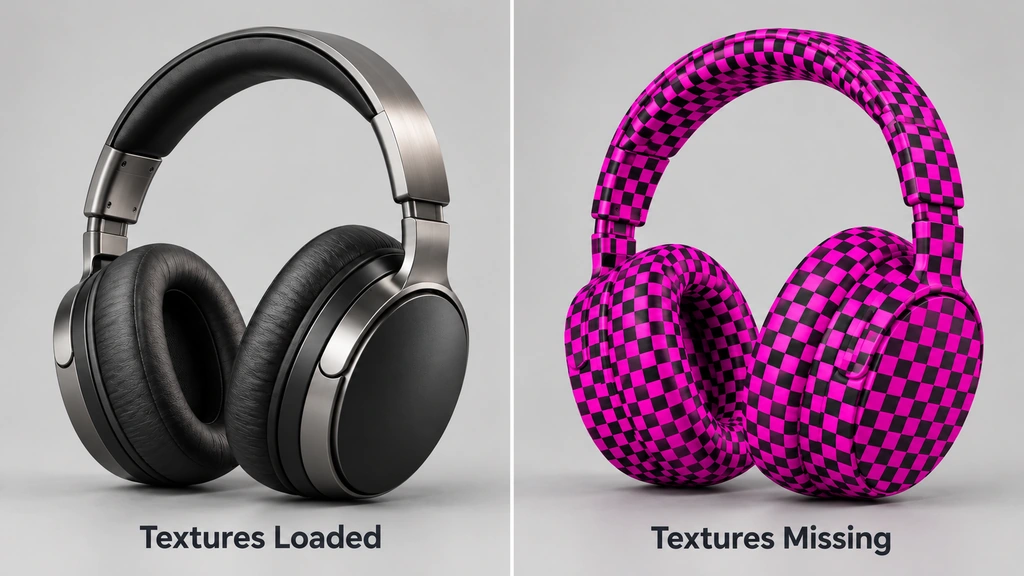
A material can look right in Blender and still arrive in a viewer with missing images or an unexpected finish. For 3D Vision Art, the useful way to approach that handoff is to separate a missing resource from a material that is present but interpreted differently. This note lays out that diagnostic sequence.
Start with one material
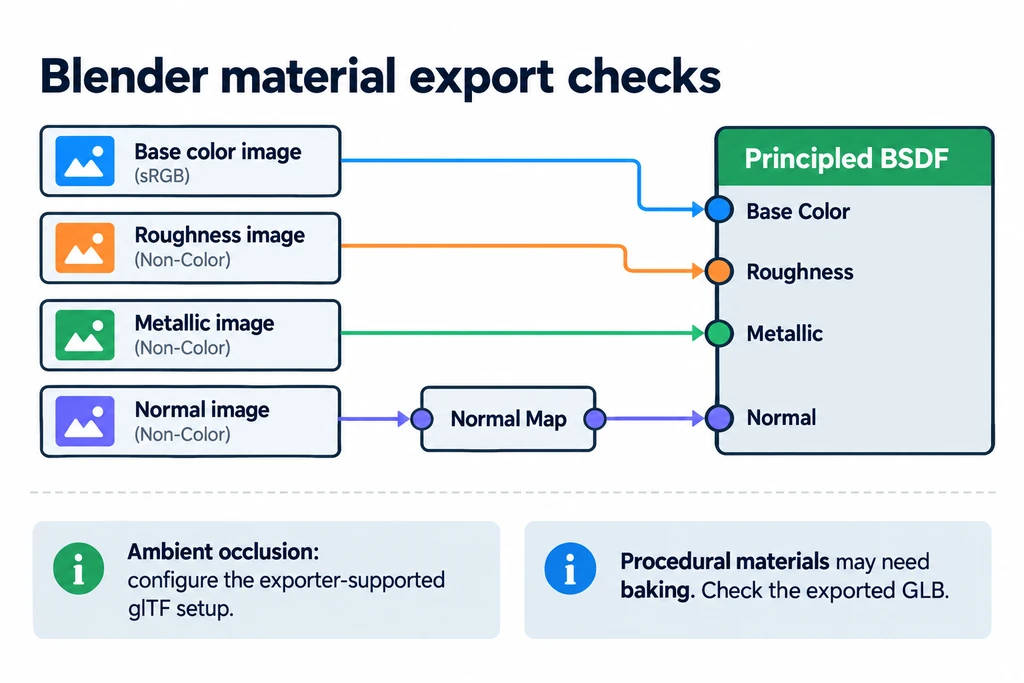
Choose one surface that shows the problem clearly. Check the image feeding each Principled BSDF input and confirm that it has the intended role. Base color, roughness, metallic and normal maps describe different properties. A complex procedural network may need baking before it can be represented by the destination material.
Keep the first test small. Correcting one material and exporting it again gives you a clearer result than changing every texture at once.
Check the exported package
For a separate glTF export, keep the JSON, buffer and referenced images together. Moving only the main file can break the paths. For a GLB export, reopen the actual exported asset and verify the images it contains. Packing a Blender source file does not by itself establish what is inside the exported file.
Separate color from material data
Base-color images carry display color. Roughness, metallic and normal maps carry numeric material data. Check the appropriate color interpretation in Blender before exporting. A texture that appears washed out may be loaded successfully but interpreted incorrectly.
Normal maps also need the correct node connection. Test them with a light that reveals the surface rather than a flat preview that can hide shading problems.
Rebuild one supported connection before rebaking everything
Start with an Image Texture connected to the relevant Principled BSDF input. For a tangent-space normal image, use the Normal Map node and the intended UV map. Set ordinary base-color images to their intended color interpretation and material-data images to Non-Color.
The glTF exporter recognizes documented node patterns; it does not reproduce Blender's entire shader graph. A procedural texture or a complex color operation may need baking into an image. First confirm which part is unsupported so the bake retains the desired material property instead of the scene's lighting.
| Observation | Next check |
|---|---|
| No image appears in the exported material | Node support, image connection, export settings, and resource references. |
| Image is present but pale or dark | Color-space interpretation, material factors, and display transforms. |
| Surface detail appears inverted | Normal-map convention and node setup. |
| Material looks different only under another environment | Lighting and supported shader features. |
Keep the failing and corrected exports as a small regression pair. That gives the next exporter update a specific material case to check instead of relying on the source viewport alone.
Compare under controlled conditions
Open the revised export in the intended viewer. If an image is absent, inspect resource and material references. If the image is present but the finish differs, compare lighting, color management and supported material features.
Save the failing export beside the corrected one. That comparison makes the cause easier to explain and gives the next delivery a repeatable check.