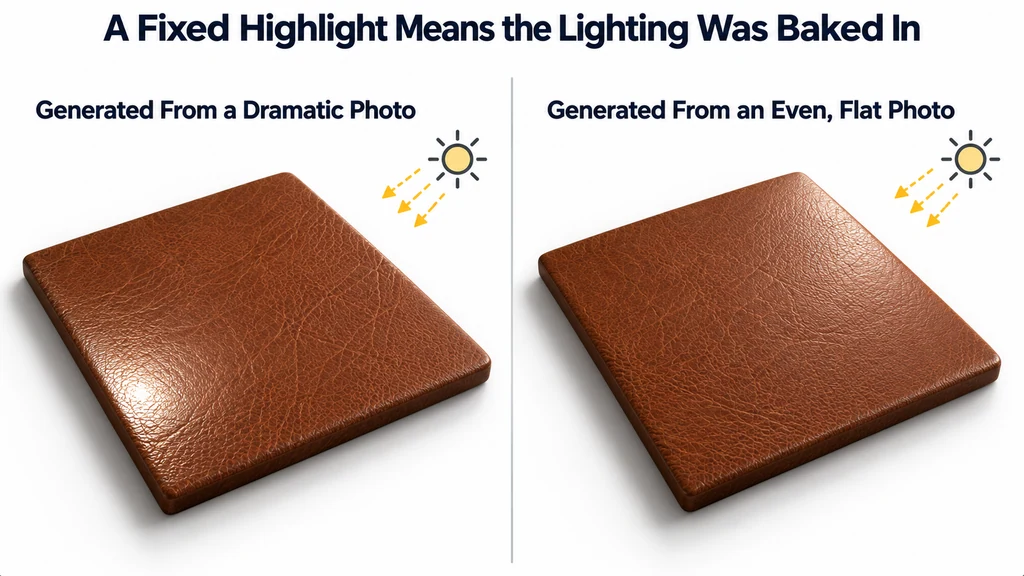
The most useful source is a view of the surface itself, with enough detail for the intended use and without avoidable shadows or clipped highlights. A dramatic product photograph may be a poor material input because its lighting is part of the image.
Prepare the photograph for a material task
Identify the physical area represented by the photograph. Record a known dimension so the pattern can be applied at a credible scale. Correct obvious perspective where appropriate, but preserve an untouched source for comparison.
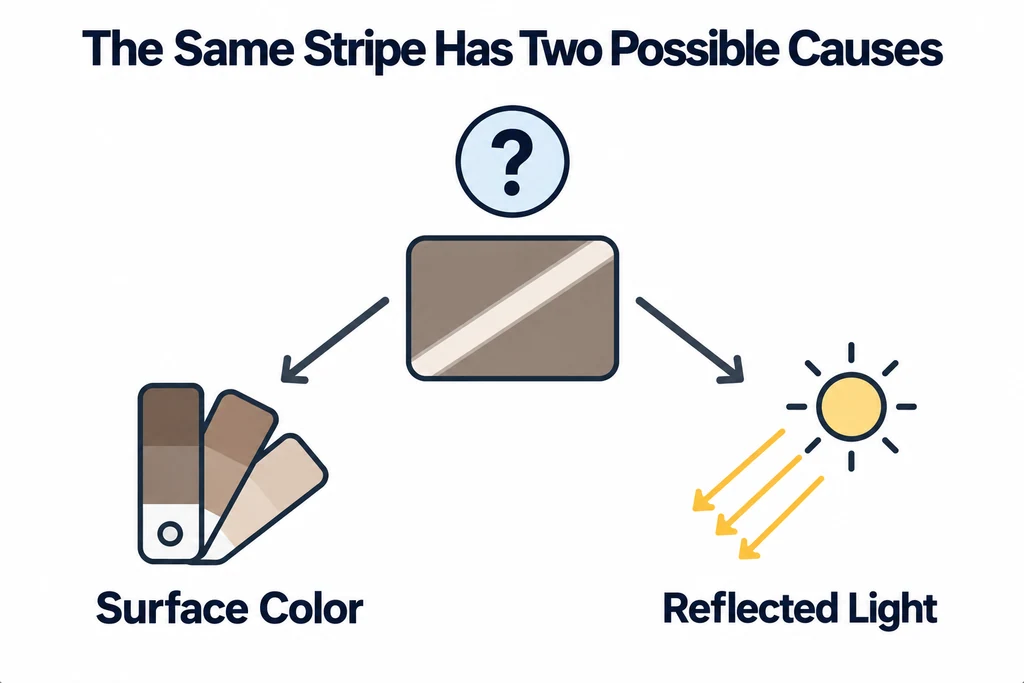
Inspect for shadows, reflections, and uneven illumination. A bright stripe could be surface color or a reflected light. Obtain another view when the distinction matters. Do not remove a real material variation merely because it looks inconvenient for tiling.
Crop to a representative region. Include defects only if they belong in the approved product finish.
Generate a first material without treating it as final
Use a tool such as Adobe's Image to Material to produce an initial set. Save the processing settings and retain the ability to revise the maps.
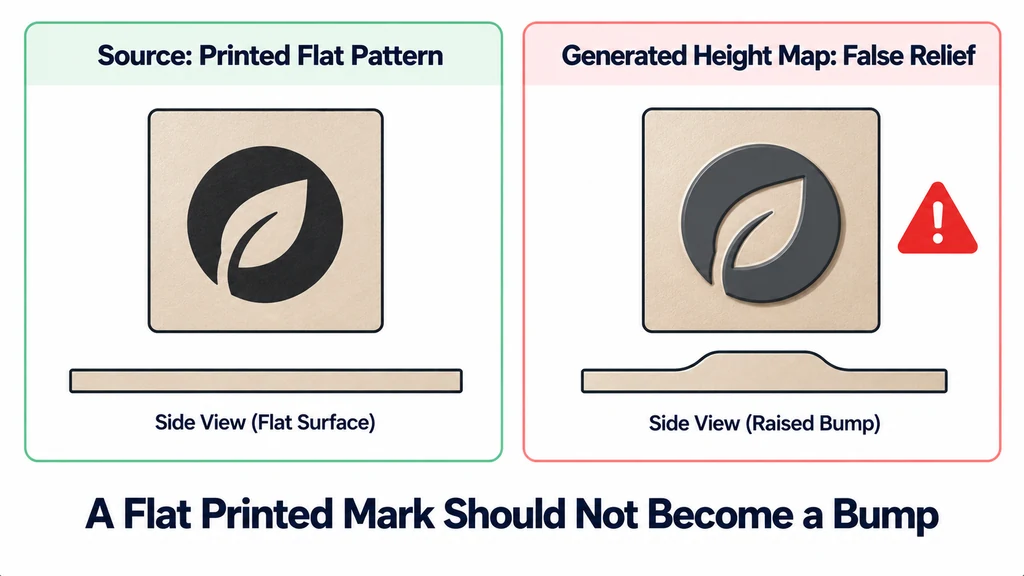
Review the channels independently. A plausible shaded preview can hide an incorrect height map compensated by a roughness estimate. Check whether printed color has become false relief or a photographic shadow has become a cavity.
For a photographed coated panel, do not assume that bright pixels indicate metal. Establish the surface construction from product evidence. The generator does not replace that information.
Evaluate the material under changing light
Apply the material to a simple surface at the recorded scale, then to the intended product region. Rotate the light or environment while keeping the camera and exposure controlled.
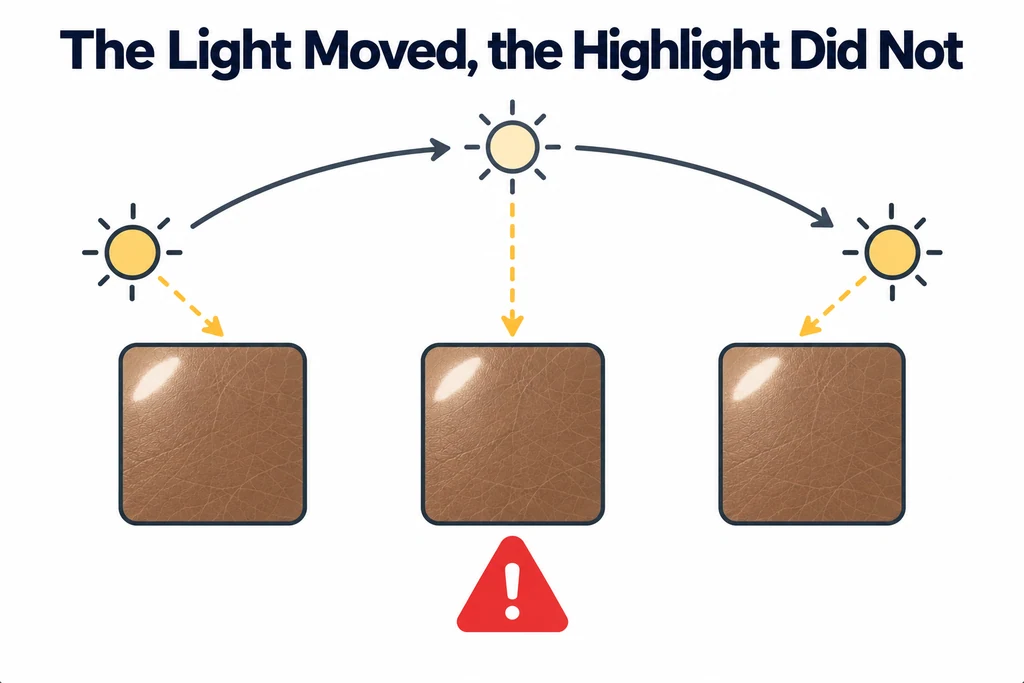
Look for illumination that appears fixed to the surface. That can indicate a highlight or shadow retained in the color map. Compare fine detail with the reference rather than increasing normal strength until the material looks more dramatic.
Inspect the tile boundary when repetition is required. Fix discontinuities without erasing characteristic patterns. A non-repeating photographed feature may need a separate placement instead of forced tiling.
Correct the inferred map that carries the mistake
If printed dark lettering becomes a cavity, compare the height and normal channels with the photograph. The algorithm may have interpreted color contrast as surface depth. Reduce or remove that false relief while preserving the printed mark in the color map.
If a bright stripe remains fixed while the review light moves, inspect the base color for captured illumination. De-lighting can help, but a single photograph may not contain enough evidence to distinguish a real pigment variation from a reflection. Obtain another view when that distinction affects the product.
Keep the material's physical pattern scale with the source crop. Review a tile boundary under moving light and at the intended distance. Deliver the editable settings and the corrected channel set, identifying inferred properties rather than calling them measurements.
Export maps by purpose
Name maps by their role and document any packed channels. Treat color data and numeric surface data appropriately in the destination. Three.js explains texture color-space annotation in its Texture reference.
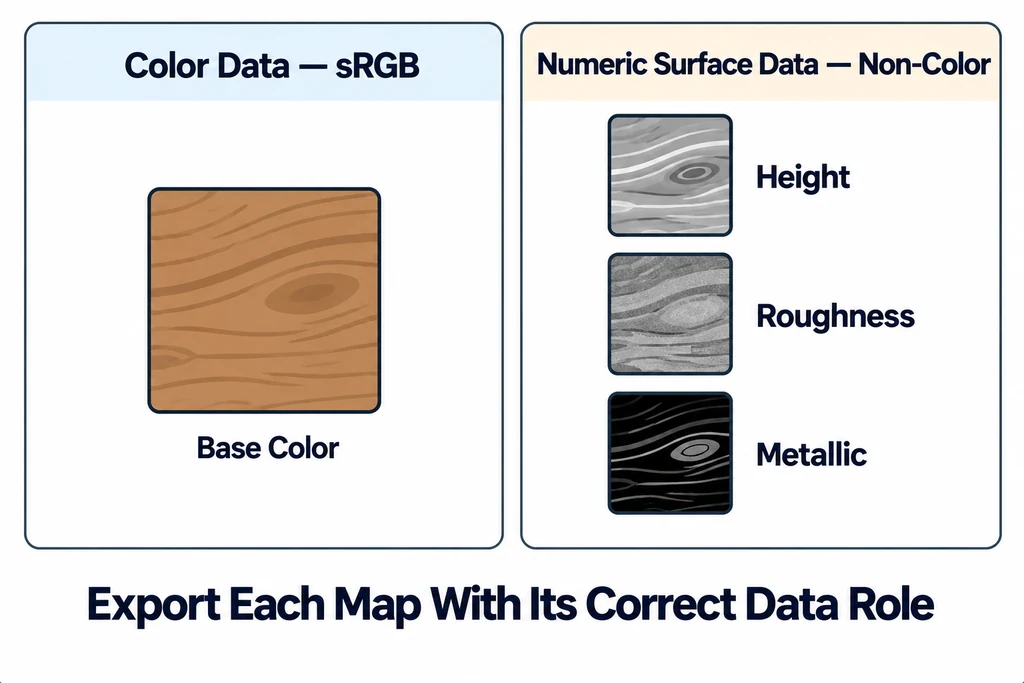
Reopen the exported maps in the destination material setup. Confirm scale, direction, and map assignment. A material approved inside the authoring tool still needs review after export.
Deliver the editable source, the exported set, and the unresolved assumptions. Describe the maps as authored estimates where physical measurements are unavailable. Approval should establish that the finish is suitable for the intended product views, not claim that a single photograph recovered every optical property.