A Shopify product configurator lets shoppers pick how an item is built or styled before they place an order. Depending on what you sell, that could mean choosing the fabric and leg finish on a chair, selecting compatible attachments for a piece of equipment, or adding custom text to homeware.
There is a good chance your store already runs the simplest version of this: option buttons that switch the selected product variant and swap the main gallery image. A more advanced setup lets buyers see their choices update live inside an interactive 3D view, with augmented reality (AR) ready for shoppers who want to check how the piece fits in their own space.
The best place to start is asking what your customers actually need to choose—and what exact details your team needs to see on the order to ship it accurately. Once that is clear, you can decide whether Shopify’s built-in variants will do the job, whether an off-the-shelf configurator app fits, or whether a custom build is worth the investment.

What counts as a Shopify product configurator?
It helps to look at product configuration as a spectrum of buying experiences rather than a single tool.
Basic configuration uses product options and images. When a shopper clicks a finish button, the product page swaps to the matching photograph or render. That setup is often plenty when your option choices are simple and clean static visuals explain the differences clearly.
Visual personalization adds a changing preview. Here, a buyer might type in custom text and see it placed on the item, or mix and match separate parts on screen. Always look closely at how that preview actually works under the hood: swapping layered 2D images is very different from letting shoppers spin an interactive 3D model.
Interactive 3D configuration changes the digital product itself. Shoppers can rotate and zoom in on a 3D model while switching materials, colors, or physical components in real time. As a concrete vendor example, Zakeke’s own configurator documentation outlines how buyers can swap parts and materials, apply custom text and artwork, and preview the result in augmented reality.
In plain terms, AR places a digital model into a live camera view of the shopper’s real surroundings—like projecting a virtual chair onto a real living room floor through a phone screen. Even so, treat AR as a helpful viewing bonus rather than a substitute for listing clear physical dimensions and capturing clean order details.
The flashiest technical setup is not automatically the smartest buy for your store. Pick the level of configuration that makes your real product options easy for buyers to understand.
Know Shopify’s limits before choosing a route
In Shopify, an option is a category like fabric or size, while a variant is the specific combination a shopper actually buys, such as a large chair upholstered in charcoal fabric.
According to Shopify’s Adding variants documentation, a single product can have up to three options and 2,048 variants. At the same time, Shopify cautions that certain themes, third-party apps, and sales channels may not support products with more than 100 variants — calling out its own Stocky app and the legacy Order Printer app as examples. Always check whether the tools your store already relies on can handle higher variant counts before expanding a product’s option tree.
Shopify tracks price, inventory levels, and shipping settings at the individual variant level. That structure is especially helpful whenever different combinations carry their own stock counts or shipping requirements.
Product media has its own separate set of rules. As explained in Shopify’s variant image guidance, each variant can be linked to one assigned image, while 3D models and videos cannot be assigned as variant media. Any extra photos simply stay in the general product media gallery.
Because of that rule, uploading a 3D model into your product media gallery will not make the model change colors or parts when a customer clicks your option buttons. Shopify’s product media documentation also notes that showing 3D models or videos on the storefront requires a compatible theme. While a supporting theme can display an uploaded GLB file inside Shopify’s native 3D viewer, that built-in viewer only lets shoppers spin that static file; it does not wire the 3D model up to your variant buttons.
Extra order details are different from variants
Shopify’s product form documentation covers line item properties, which are extra custom notes attached directly to an item when it enters the cart. They work well for capturing custom engraving wording or special build instructions.
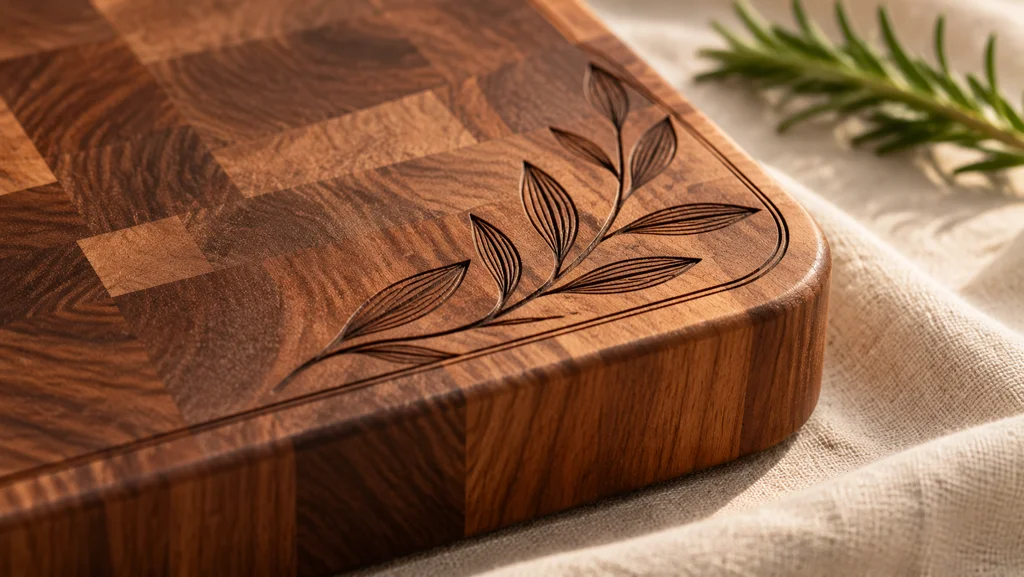
Think of line item properties strictly as informational notes riding along on the order. Adding a custom text input box does not create a separate inventory-tracked SKU or adjust the checkout price on its own. Always ask your app vendor or developer to walk you through how each shopper selection affects the on-screen preview, the checkout total, your stock counts, and the final order record.
Start with a clear product brief
Before you install a configurator app or reach out to a developer, put together a complete option sheet. List all of your available finishes, dimensions, add-on accessories, and custom text fields, and clearly mark which combinations are valid versus which ones need to be blocked.
For instance, picture a dining table where picking the longest tabletop requires switching to a heavier base frame. Your configurator should steer the shopper through that rule automatically instead of letting an unbuildable combination slip through to checkout. That is just one practical example of conditional logic rather than a universal rule for every furniture store.
Gather your product reference photos, exact measurements, material swatches, and any 3D or CAD files you already have on hand. Make sure you also include the internal codes your team relies on to identify the finished item, such as its SKU—the unique identifier for each sellable product or variant.
Finally, write down what the finished order needs to look like inside your Shopify admin. A slick on-page preview only does half the job; the person packing or building the order in your warehouse needs to be able to read the order screen and know immediately what the customer bought.
If built-in variants are enough, start there
When your product has a straightforward set of options, start with Shopify’s native tools before paying for extra software:
- Open the item under Products in your Shopify admin and enter its option categories and values in the variants section.
- Fill in the specific details for each variant, including its price and stock count.
- Link the matching product photo to each individual variant.
- Open the live storefront preview and test clicking through the options, watching the image swap, checking stock behavior, and adding the item to the cart.
Shopify walks through each of those steps in the variant and variant image guides linked earlier. How the option buttons, dropdown menus, and color swatches look on the page will depend on your store theme and settings.
This native setup works well whenever static product photos or renders can show every option clearly. Its main ceiling is the visual experience itself: swapping flat images does not give buyers an interactive 3D model to spin or let them assemble separate parts on screen. Once your buyers need to see more than a standard photo gallery can show, it is time to look at a configurator app or a custom build.
The app route: how to put it into practice
A configurator app gives you a ready-made software platform that you set up around your own catalog. When its built-in controls match how your product works, an app can save you significant custom development work—though setting up the products and 3D assets still takes real effort.
Choose by the actual buying journey
Send your option sheet to the app vendors you are considering and ask to see how their platform handles those exact rules. Test how the app manages material swaps, optional attachments, custom text, live price updates, and blocked combinations.
Be careful to separate what the app advertises on its marketing page from what is actually included in the plan tier you plan to buy. Ask upfront about published product caps, whether the app adds its own logo to your store, what customer support covers, and whether per-order transaction fees apply. Always read the vendor’s current pricing and plan terms rather than assuming the base monthly fee is your entire budget.
Prepare the product assets
Check whether the app runs on layered 2D images, a web-ready 3D model, or a mix of both. Here, “web-ready” means a 3D file built specifically to run smoothly inside a web browser, with clean geometry and properly sized textures. Angle’s 3D model guidelines offer a clear real-world example: their platform accepts only .GLB files up to 15 MB maximum, and specifies that the model must not be constructed “as a single block” so that individual parts can be swapped or recolored independently.
Similarly, Zakeke’s documentation notes that a configurable 3D model has to be split into separate customizable meshes so option rules can target each part. That explains why having a finished studio render—which is just a flat 2D image—does not replace the segmented 3D model required to run an interactive configurator.
Find out early who is responsible for building or prepping any missing 3D assets, and clarify whether that modeling work is bundled into your setup quote or billed separately.
Connect choices to the store
Next, wire up your option labels, surface materials, compatibility rules, and checkout behavior inside the app. As a vendor-specific example, Angle 3D Configurator’s FAQ notes that you can map its configurator options directly to your existing Shopify variants so the variant prices carry over into the configurator view.
Never assume every other configurator app connects to Shopify the exact same way. Have the vendor demonstrate how a shopper’s custom configuration turns into a cart item on your store, including how extra personalization notes are passed through.
Install, test, and document
Follow the app’s installation steps on a duplicate preview theme first so you can test everything before making it live to shoppers. Check where the configurator block sits on the page and how it interacts with your existing media gallery and buy buttons.
Run a full test order all the way through checkout rather than stopping at the visual preview. Once everything works, write down clear internal notes showing your staff how to add new finishes, update stock availability, and swap out product assets—and agree on who troubleshoots the page if a future theme update or catalog change causes a conflict.
The custom route: what an owned build involves
A custom-built configurator is engineered specifically around your products and checkout flow. It is well worth exploring when off-the-shelf apps force clumsy compromises, though it requires a longer development timeline and clear plans for ongoing upkeep.
Define the scope and ownership
Begin with a clear written scope covering the shopper journey, option compatibility rules, Shopify cart integration, and how your team will manage the catalog day to day. Make sure the brief also covers mobile screen behavior, keyboard accessibility, and what fallback view shoppers see if the interactive 3D player fails to load.
Spell out the exact handover deliverables in your contract: the source code, 3D product models, material files, technical documentation, account credentials, and any third-party software licenses. Commissioning an “owned build” means defining your exact ownership and reuse rights in writing—though it does not mean every underlying code library is built from scratch or that ongoing hosting and maintenance costs vanish.
Prepare and approve the product visuals
At 3D Vision Art, our still product renders start from a high-detail master model built for each product. Creating an AR version from that master model requires a separate optimization pass priced as its own deliverable; when a client wants AR as the sole starting use, we build the model directly to AR specifications from the beginning.
Our studio’s staged sign-off workflow moves from the clay/model stage—where you check the bare 3D shape before finished surface materials go on—to texturing and materials, and finally to the rendered shots. When scoping a custom configurator, you should also set up separate sign-off milestones for testing interactive part swaps and checkout behavior.
If you already have existing 3D models, have the studio inspect them before assuming they can be reused as-is. Ask whether their mesh structure, surface materials, and polygon count actually fit a live web configurator.
Build the choices and Shopify connection
Your developer has to bridge what the buyer sees in the 3D view with what Shopify can actually process at checkout. Map out which choices link to real Shopify variants, which choices travel as informational notes, and how paid upgrades change the total price. That distinction is critical because standard Shopify line item properties only carry text notes, not prices—meaning any option that raises the price usually has to map to a Shopify variant, an add-on product, or custom cart pricing logic.
Ask for a straightforward explanation of how inventory tracking and blocked option combinations will work. If you sell made-to-order goods, specify the exact build sheet details your production floor needs to see on the order. Treat both the front-end 3D view and the back-end order record as linked deliverables that need formal sign-off before launch.
Test, launch, and arrange maintenance
Lock in your quality-testing checklist before going live, and decide upfront who will look after the system once it is launched. Make sure that plan covers file hosting (where applicable), security patches, backups, technical support, and future catalog additions.
Shopify’s API versioning documentation points out that Shopify updates its software interfaces on a regular schedule and retires older versions over time. Because an API is the bridge that lets external code talk to Shopify, any custom configurator using those connections will occasionally need maintenance updates to stay compatible.
While an owned custom build lets you skip a monthly configurator app subscription, you still need a realistic maintenance plan and access to a reliable developer—so factor that ongoing upkeep into your budget alongside the initial build quote.
How to choose without overbuying
Weigh all three routes using one real product from your catalog and its trickiest valid option combination. Ask every vendor or developer to walk through how they would handle that exact scenario so you can compare the practical tradeoffs side by side.
| Route | Useful fit | Main advantage | Limitation to plan for |
|---|---|---|---|
| Built-in variants with images | Straightforward choices that images explain clearly | Uses Shopify’s native product structure | No live configurable model from variant setup alone |
| Configurator app | Requirements that fit an existing platform | Less custom software to commission | Plan restrictions, recurring charges, and product setup |
| Owned custom build | Distinctive rules, presentation, or integration needs | Greater control over the agreed experience | Development time, hosting where needed, security, and maintenance |
Renting an app is often the most practical move when an existing platform already covers your option tree and your team is happy with its pricing and terms. Commissioning a custom build makes sense when off-the-shelf app limitations get in the way of how your customers shop or how your warehouse fulfills orders.
Do not jump straight to a custom build just because monthly app subscriptions feel annoying—and equally, do not pick an app just because clicking install looks quick. Compare the initial setup work, 3D model preparation, day-to-day catalog updates, and technical support right alongside how the configurator looks on the storefront.
Check these details before launch
Before pushing your configurator live, run through a shared sign-off checklist with your team:
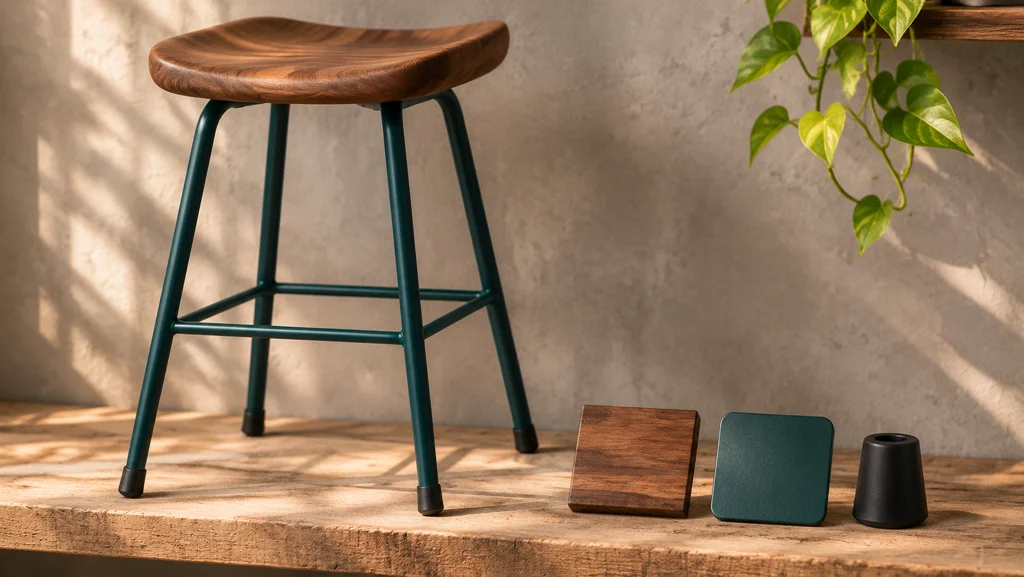
- Does every option label on screen match the actual part or finish that will ship?
- Do valid option combinations display the right visual look and update the checkout price accurately?
- Are out-of-stock or incompatible combinations clearly blocked or explained to the buyer?
- Do the cart, checkout screen, and final Shopify order record keep every configuration detail intact?
- Can your fulfillment team read the order screen and pack the item without having to guess what the shopper picked?
- Do all the option controls work smoothly both on mobile touchscreens and with a desktop keyboard?
- If AR is part of your setup, does launching AR show the shopper’s chosen configuration on supported phones?
Apple’s Quick Look documentation covers how iOS devices place virtual objects into real-world rooms, while Google’s Scene Viewer documentation outlines Android device requirements and fallback behavior. Because mobile AR support depends both on how the configurator is built and what phone the shopper is holding, always make sure buyers get a clean 3D fallback view whenever AR is unavailable.
Frequently asked questions
Do I need a 3D model to offer product configuration?
No. Standard variant buttons paired with matching product images can handle basic configuration just fine. You only need a 3D model when you want shoppers to spin and customize an interactive 3D object on screen, whereas simpler setups can run on 2D photos or renders. Figure out what your buyers actually need to see before commissioning assets, and check the file requirements of whichever platform you choose.
Can I offer more choices than Shopify’s native option limit?
Yes—Shopify’s variant documentation points merchants toward third-party apps or custom order-detail fields whenever a product needs more than the native option limits allow. Keep in mind that adding custom input fields does not automatically create separate stock-tracked variants. Always ask how the proposed setup will handle price changes, inventory tracking, order fulfillment, and compatibility with the rest of your store’s apps.
Does uploading a model create a configurator?
Not on its own. Uploading a 3D model to Shopify’s product media gallery simply gives shoppers a static 3D object they can rotate. Turning that into a configurator requires option controls and logic that link what the customer clicks to visual changes on the model and the final cart item. Make sure your project scope covers both the visual 3D interaction and the checkout connection.
Will AR show the exact combination the shopper selected?
Treat live AR variant syncing as a specific requirement to verify rather than something you assume works out of the box. Ask the app vendor or developer to demonstrate changing options in the browser and then launching that exact custom combination into AR. Check that the materials, swapped parts, and real-world dimensions hold up on supported phones, and agree upfront on what the shopper sees when AR is not supported on their device.
What happens to my assets if I stop using an app?
That comes down to the app provider’s contract terms and export tools. Angle’s FAQ, for instance, notes that you can download your current 3D model. However, that does not mean every other app vendor offers the same export option, nor does downloading a model file transfer your option rules or user interface to a new platform. Always clarify 3D model access, usage rights, export formats, and future migration work before locking yourself in.
How much should I budget for setup?
Ask for a written quote based on your actual product scope rather than trying to guess your budget from an app’s monthly subscription fee alone. Preparing the 3D models, handling complex geometry and materials, wiring up option rules and personalization fields, connecting to Shopify’s cart, and running quality checks all take real work. Factor in ongoing app fees or custom hosting and maintenance alongside that upfront setup. At 3D Vision Art, we quote custom configurator projects individually based on your exact brief.
Build around the products you actually sell
If your requirements call for a custom experience, consider 3D Product Configurator Development from 3D Vision Art. Share your product references, available models, option list, and Shopify requirements to Get a Free Quote.