Name the product state
Start with the exact SKU, finish, size, and accessories that the render represents. A render cannot be approved if the team has not agreed whether it shows a default configuration or a specific option.
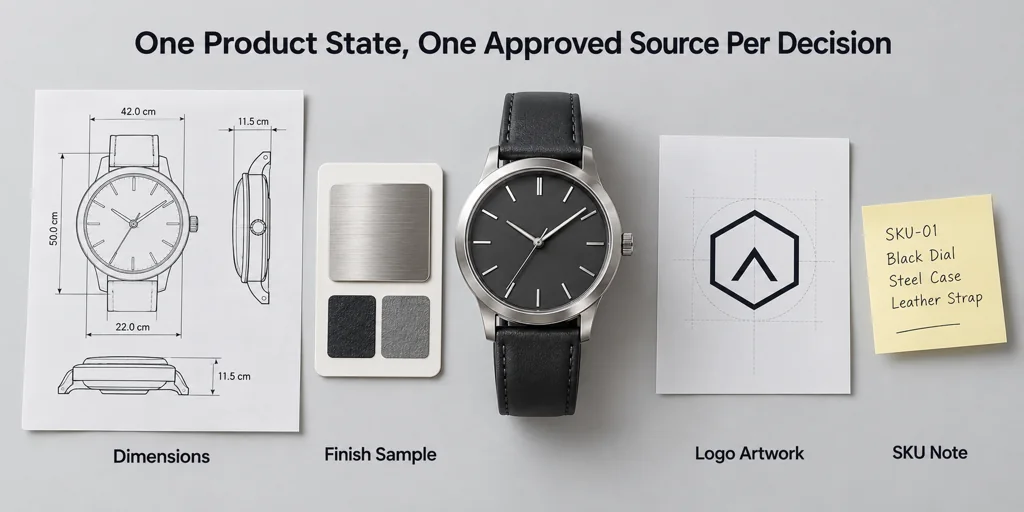
Attach the best available source files. CAD, dimensions, labels, logos, and packaging references all help, but name their authority. A measurement drawing may be the source for dimensions while a studio sample may be the source for surface finish.
Define what the image must answer
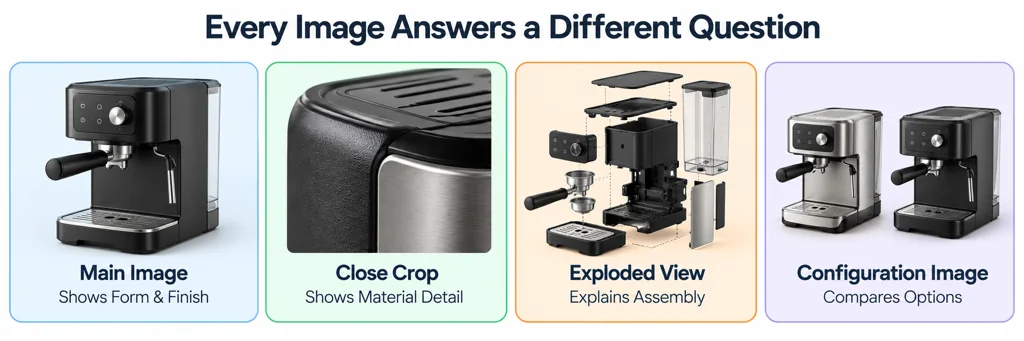
List the customer question for each output. A main product image shows form and finish. A close crop shows a material detail. An exploded view explains assembly. A configuration image compares options. Do not ask for “a few renders” without identifying the purpose of each view.
For each output, specify aspect ratio, background, crop, camera direction, and where it appears. A marketplace listing, a product-detail page, and a sales deck often need different framing.
Describe materials with references
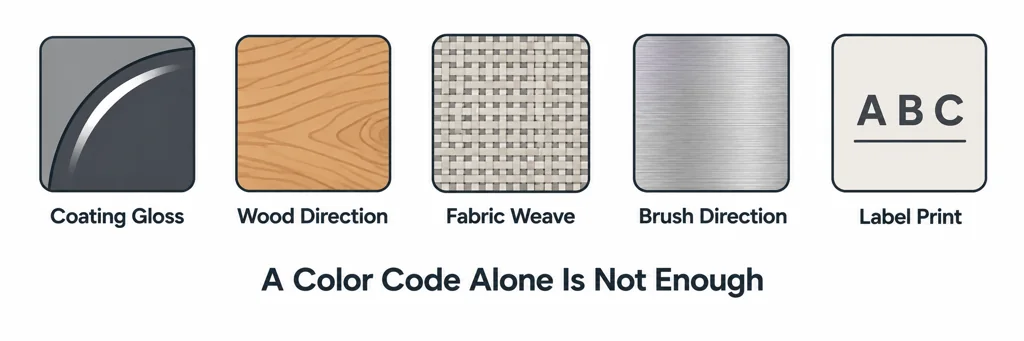
Use physical samples or controlled reference photographs where possible. Name the visible cues that matter: coating gloss, wood direction, fabric weave, brushed-metal direction, and label print. A color code alone does not define roughness or reflection.
The glTF material model uses physically based material inputs such as base color, metallic, and roughness. That gives a useful production vocabulary even when the deliverable is a still render rather than a web asset.
Use a brief the team can fill in
| Field | What to supply |
|---|---|
| Product | SKU, revision, size, finish, and included accessories. |
| Sources | CAD or drawings, approved artwork, sample references, and known gaps. |
| Output purpose | The customer question answered by each view or sequence. |
| Composition | Intended placement, aspect ratio, crop, background, and required detail. |
| Delivery | Dimensions, file formats, naming, and any interactive destination. |
| Approval | Decision owners, review stages, and unresolved assumptions. |
For an illustrative watch project, distinguish the hero view from the clasp detail and the caseback view. Each output needs its own framing and information requirement, even when all three reuse the same model.
Attach references with a sentence explaining their authority. A photograph may control the finish but not the dimensions. A layout may control the crop but not the camera's physical accuracy. Resolve those boundaries before the first polished preview.
Make approval specific
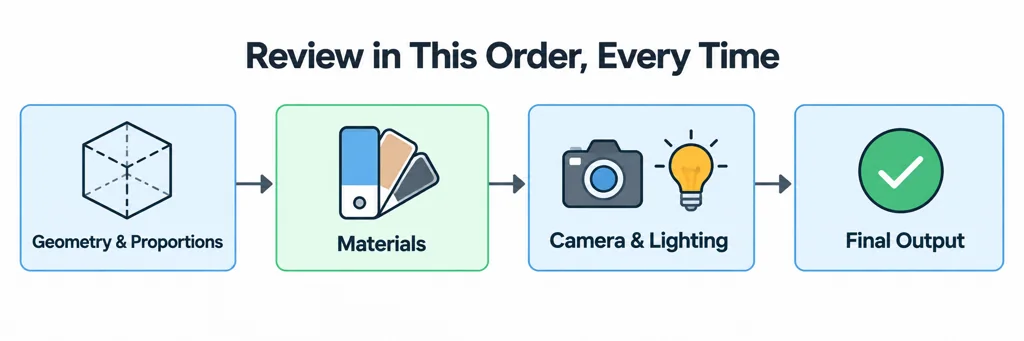
Set a review sequence: geometry and proportions first, materials next, camera and lighting after that, then final output. Group feedback by image and issue. “Make it better” gives an artist no decision to act on.
A usable brief makes the first review useful. It does not remove iteration, but it prevents the team from discovering the product state halfway through production.