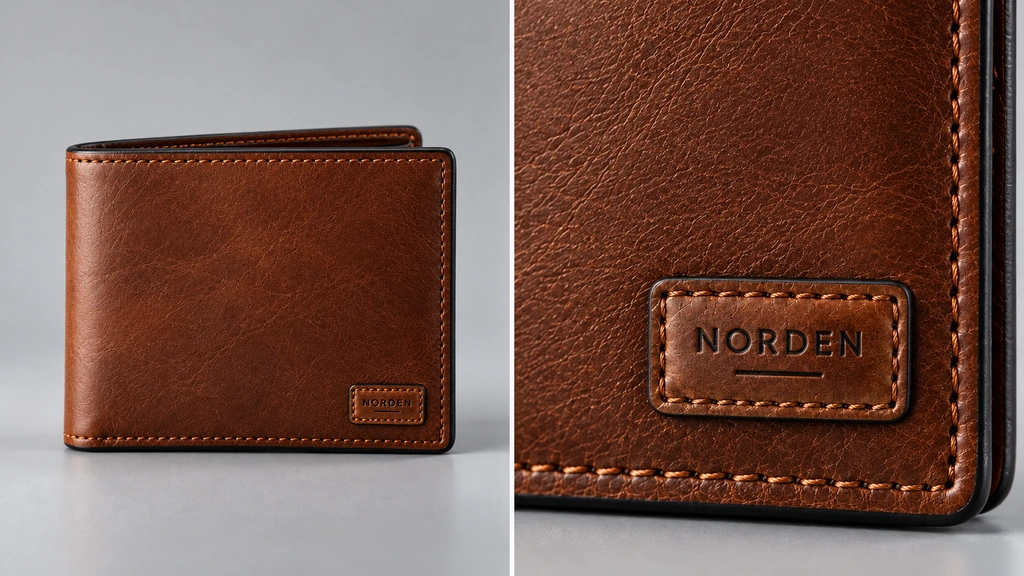
Texture resolution is a viewing decision as much as an export setting. A distant product image and a close view of its label do not ask the same thing of a map. This 3D Vision Art note approaches resolution by identifying what the viewer needs to read before increasing every image size.
Establish the closest useful view
Set the nearest camera distance the asset needs to support. Identify the details that carry information there, such as printed text, stitching or a small surface mark. Review at the intended display size before enlarging the image to diagnose a problem.
Hold the view constant while comparing texture candidates. Moving the camera farther away can hide detail loss without improving the texture.
Inspect the UV allocation
A large image does not guarantee that an important region receives enough pixels. Check how much of the UV space the label or detailed area occupies. Unused space and disproportionate islands can waste resolution.
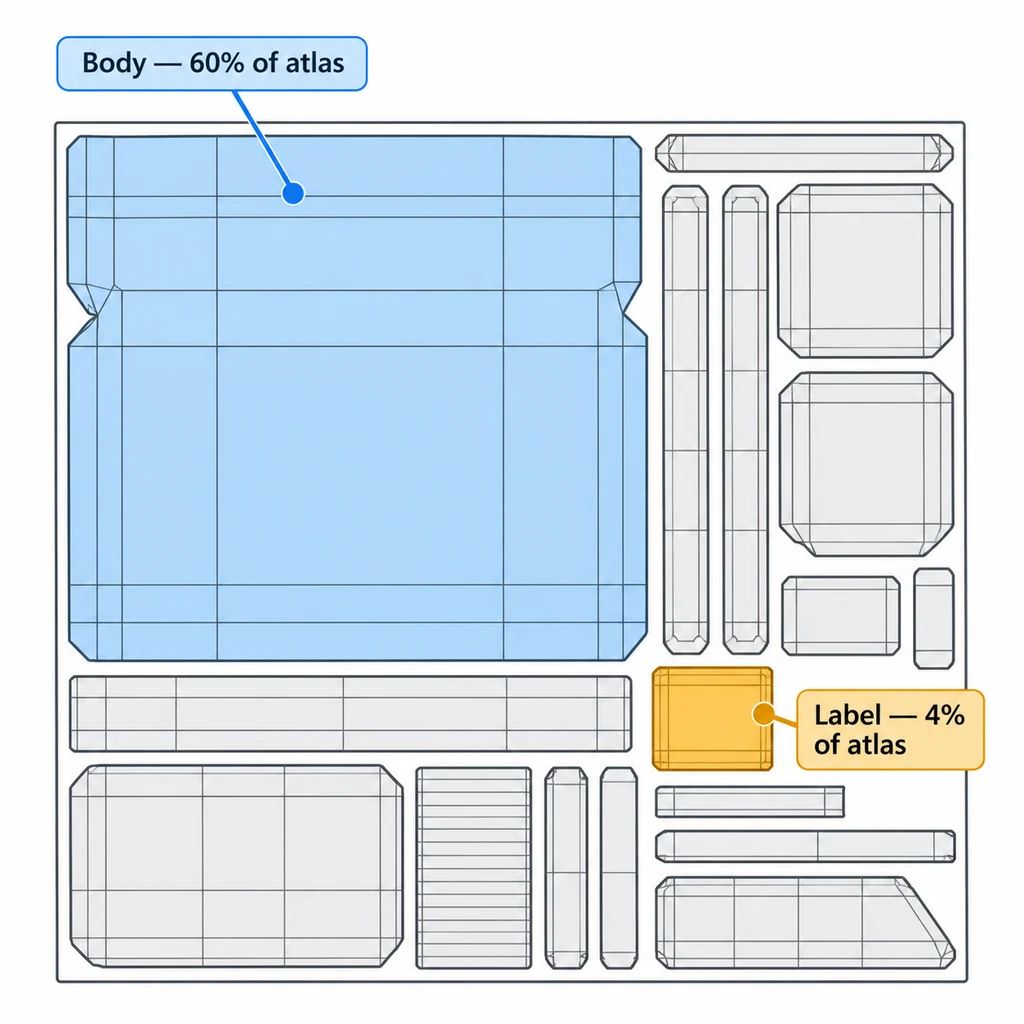
If a small feature remains unreadable, investigate its UV coverage and source quality before increasing the whole atlas. More pixels cannot restore information that was absent in the source image.
Compare maps by their job
Base color, roughness and normal maps do not always need identical dimensions. Make separate candidates and check whether each reduction changes the intended appearance. Keep filtering and camera conditions consistent so the comparison answers the resolution question.
Inspect oblique angles as well as front views. Filtering and mip selection can affect fine detail even when a map has enough pixels in a close, straight-on comparison.
Make the comparison measurable
Save the camera, output dimensions, and the product's screen coverage. Then compare full-size, half-size, and smaller candidates without changing the UV layout. Judge the exported result, including its compression and filtering, at the closest permitted camera position.
A label occupying a small part of a large atlas receives only that fraction of its pixels. Doubling the atlas dimensions doubles its linear sampling density but approximately quadruples the uncompressed pixel count. For an illustrative 2048 × 2048 RGBA8 image, the base level is 16 MiB; a full mip chain adds roughly one third. Actual GPU storage depends on format, mip levels, and implementation. Transfer size is a separate measurement.
Use a short decision record:
| Map | Detail to preserve | Acceptance view |
|---|---|---|
| Base color | Printed text and finish boundaries. | Closest readable label view. |
| Normal | Engraving and small highlight changes. | Grazing-light view at the permitted zoom. |
| Roughness | Finish variation rather than image sharpness alone. | Broad reflection moving over the surface. |
Lower one map at a time. If a roughness reduction passes while a normal-map reduction fails, the delivery can use different dimensions for those roles. Keep UV padding and mip behavior in the comparison; a sharp full-resolution image can still produce a seam at distance.
Record the accepted range
Compare the actual exported asset and its resource cost. Choose a size that retains the required information at the agreed viewing distances. Avoid treating a file-size reduction as proof of better interaction without measuring the target experience.
Keep the source maps available. A later macro shot or larger placement may need a different texture decision, even when the original delivery was correct.