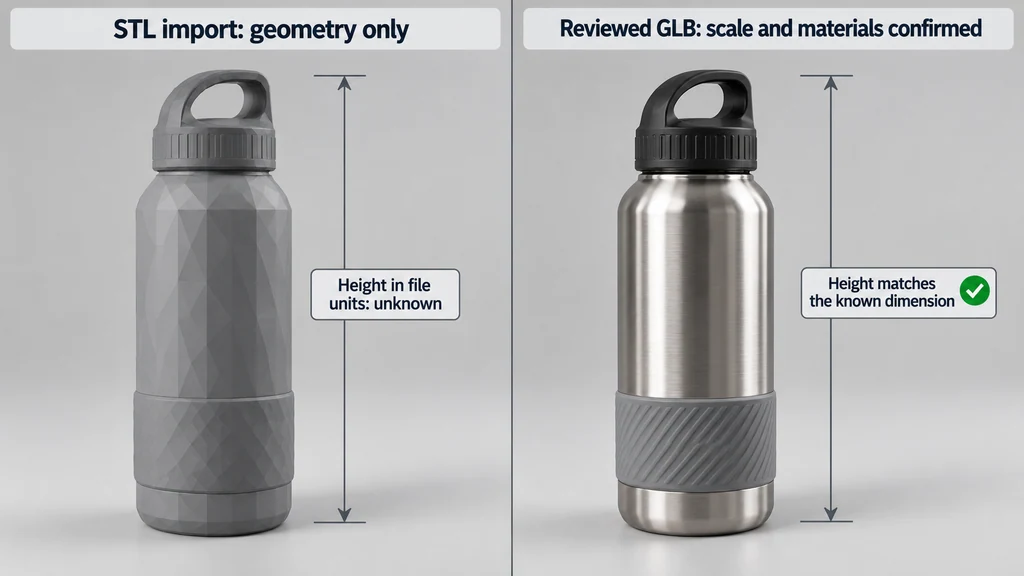
Treat presentation materials as a separate task. Many STL deliveries provide geometry without the material information needed for a product preview. Some variants carry color information, so inspect the actual source rather than making a blanket assumption.
Inspect what the source actually contains
Check whether the file is complete and whether the importer reports problems. The Three.js STLLoader documentation describes supported STL forms and color-related behavior for certain binary files.
Identify disconnected shells, unexpected internal geometry, and the overall orientation. Compare the model with a product reference. Do not join every shell immediately if separate pieces may need different finishes or visibility.
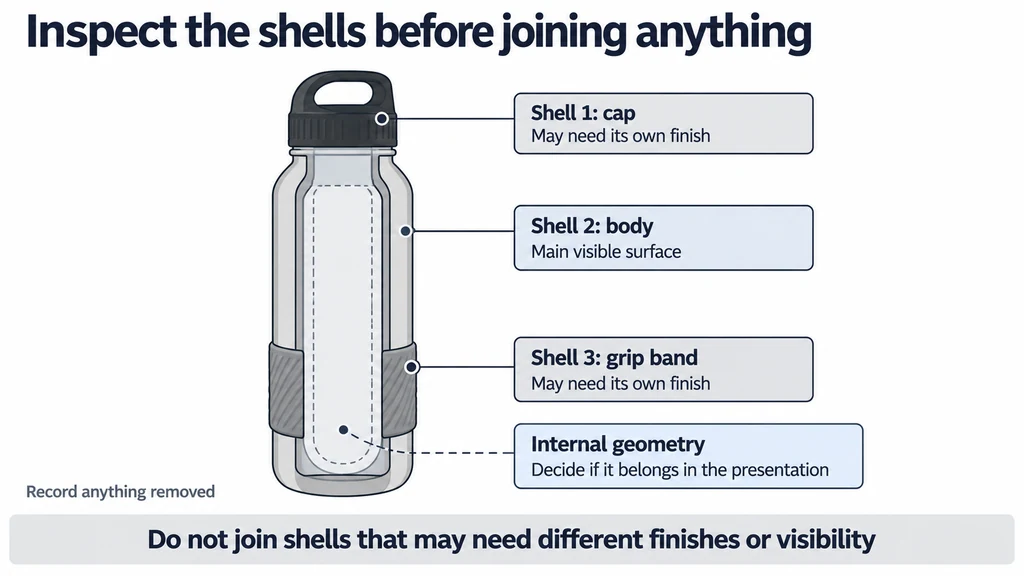
If the file is a manufacturing export, decide which details belong in the presentation. Keep a record of anything removed.
Establish scale from a trusted dimension
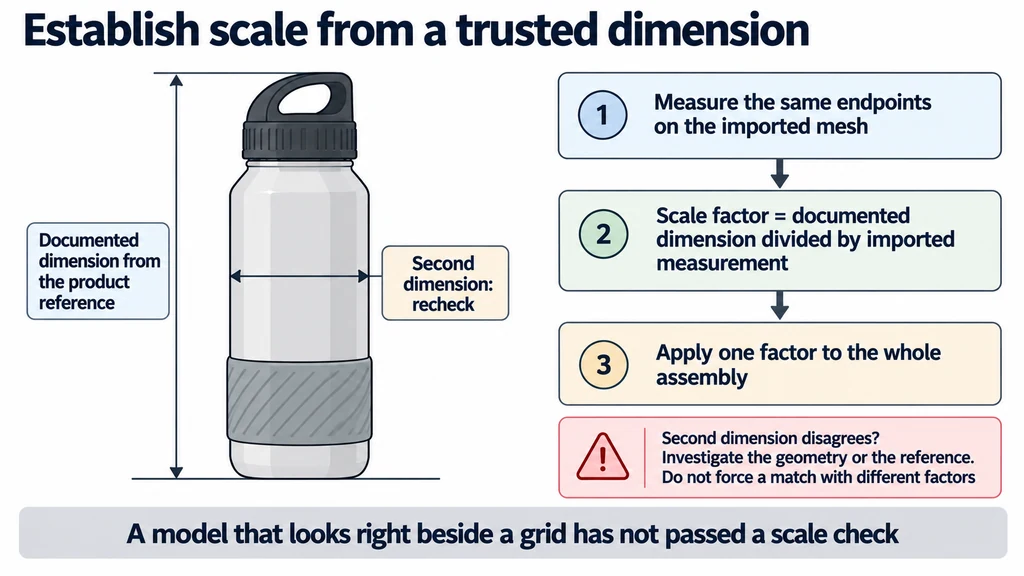
Choose a dimension whose endpoints are unambiguous, such as the distance between two documented flat faces. Compare it with the imported measurement and calculate the required scale factor.
Apply the decision consistently to the entire relevant assembly. Record the source dimension and the resulting size. A model that looks correct beside a camera grid has not passed a physical-scale check.
Recheck a second dimension when available. If it disagrees, investigate the geometry or reference rather than applying different arbitrary scale factors to force a match.
Calculate the unit conversion instead of guessing it
Suppose a documented width is 120 mm and the imported STL spans 120 coordinate units. If the delivery scene uses meters, the intended width is 0.12 m, so the uniform scale factor is 0.12 / 120 = 0.001. These are illustrative values; use the actual reference and measured extent for the asset.
Standard STL does not provide an authoritative physical-unit declaration or a UV-based PBR material system. Importer presets can make assumptions, but those assumptions still need verification. Check a second dimension to catch a wrong reference or distorted geometry.
Apply scale consistently across related shells and inspect the exported GLB bounds. Keep any source color variant distinct from an approved finish. Conversion can carry known geometry, but it cannot infer the correct wood grain, printed label, or roughness from a geometry-only source.
Build a deliberate presentation material
Inspect face orientation and shading before adding a detailed finish. Missing or dark surfaces can result from geometry problems that a material cannot repair.
Assign materials by product evidence. A uniform preview color is acceptable for a geometry review when clearly identified, but it should not be delivered as an approved commercial finish.
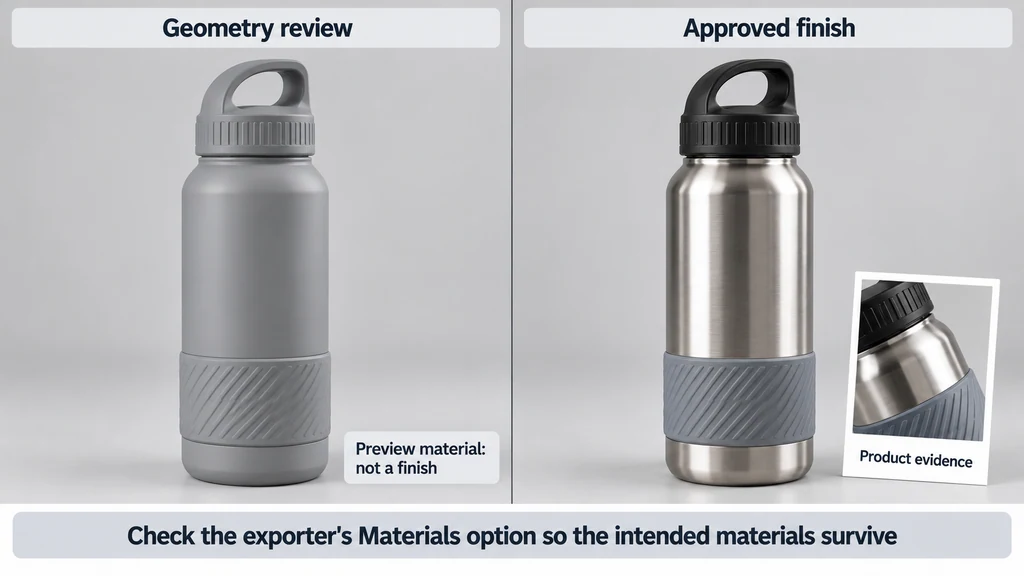
For textured regions, create and inspect the required mapping. Review the recognized material inputs in the Blender glTF exporter documentation. Do not expect a file conversion to invent the label placement or finish boundaries absent from the source.
Check the exported GLB
Open the output in the target renderer and compare its dimensions, orientation, visible parts, and shading with the prepared scene. Inspect the underside and openings, not only the default camera.
Verify that the material is intentional and that the asset contains only the required resources. Keep the source and exported file names distinct.
Deliver the scale reference, material assumptions, and any removed geometry with the conversion record. If the source cannot establish a critical dimension or surface detail, flag that limitation before the model is used for AR or a product claim. The useful result is a reviewed presentation asset, not merely an STL wrapped in a different extension.