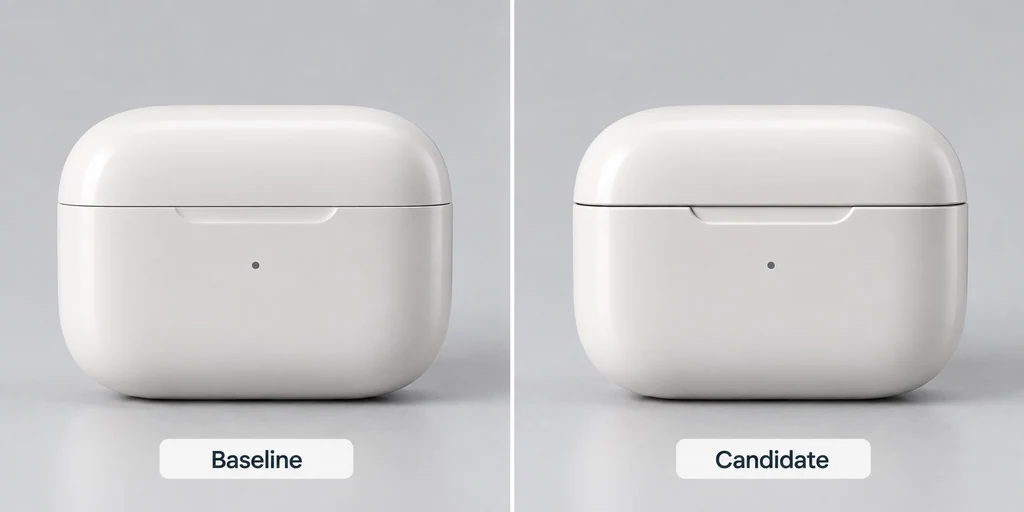
The purpose is to detect changes that deserve review. A pixel comparison is not an automatic judgment of product correctness.
Freeze the comparison environment
Record the renderer version, viewport, pixel ratio, camera, lights, environment, and material settings. Consult the renderer configuration for the implementation used by the test.
Wait for the resources needed by the capture and set a defined animation state. Avoid comparing an incompletely loaded texture with a settled baseline.
Keep the test environment separate from presentation experiments. A lighting improvement belongs in its own review before it becomes the new baseline.
Keep the camera independent of the candidate
Use the same stored camera and target for both revisions. Automatically fitting each model can conceal a scale change because both fill the frame.
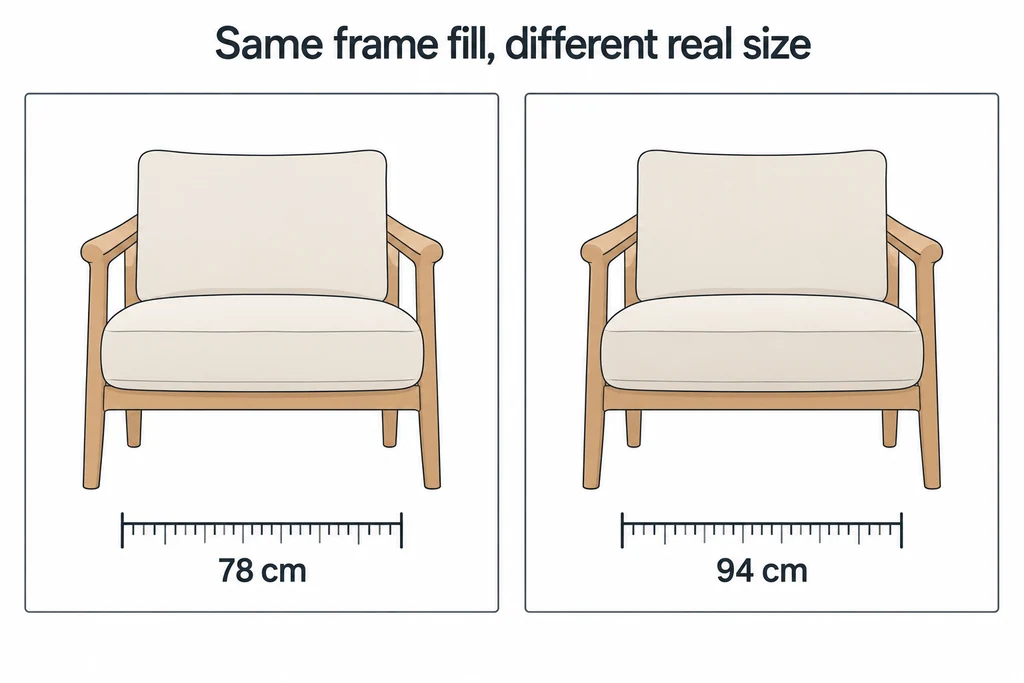
Inspect object bounds separately when geometry size matters. A changed extent is useful evidence, even if the rendered difference is subtle.
Choose views that expose important regions rather than relying on one hero camera. Include the label, silhouette, and a difficult interface or opening relevant to the product.
Review differences by region and cause
Generate matching captures and inspect the differences alongside the original images. A heat map can locate changes, but the reviewer still needs to understand their meaning.
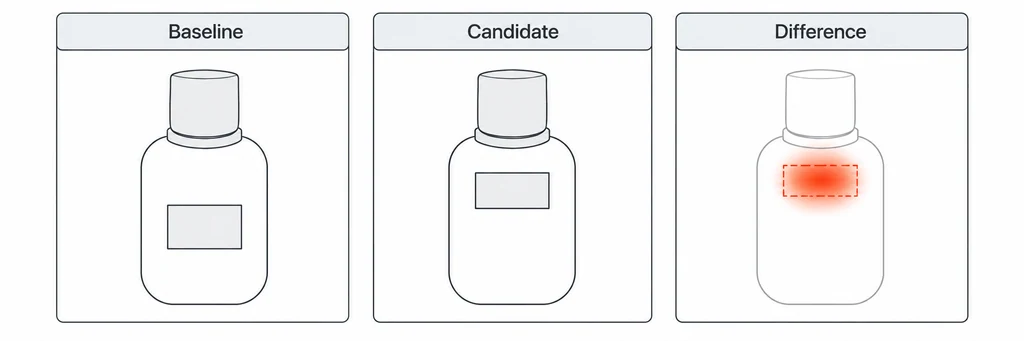
Separate expected revisions from accidental ones. If the requested change was a label update, a changed housing contour needs investigation.
Account for rendering variability. Different devices or graphics paths can introduce differences unrelated to an asset edit. Use a controlled environment for automated comparisons and treat cross-device review as a separate compatibility check.
Interpret the difference before accepting it
Fix the pixel ratio explicitly rather than inheriting it from whichever display runs the comparison. Set a named animation time, wait for the required decoding and loading work, and render a settled frame. When the renderer supports an asynchronous shader-compilation path, include it in readiness rather than taking the first incomplete capture.
| Visible difference | Candidate causes to investigate |
|---|---|
| Whole object shifted or resized | Root transform, pivot, dimensions, or camera changes. |
| Outline changes in one region | Geometry reduction, export modifiers, or a revised part. |
| Texture detail moved across the same shape | UV layout, texture transform, or image replacement. |
| Broad highlight change without a contour change | Normals, roughness, environment, exposure, or tone mapping. |
| Isolated noisy edge pixels | Anti-aliasing or rendering variability. |
These are diagnostic hypotheses, not automatic classifications. Pair screenshots with world-space bounds and relevant mesh statistics. For animated or deforming geometry, state how and when the bounds were evaluated. A fixed camera is useful evidence, while numeric measurements catch dimensional changes that a view can miss.
Approve the new baseline explicitly
Record the candidate identity, intended changes, unexpected differences, and reviewer decision. Do not replace the baseline merely because the test produced too many alerts.
For an illustrative finish revision, accept the new material only after confirming that geometry, labels, and component positions remain correct. A whole-image similarity score can miss a small but important error.
Retain rejected candidates when they help explain a defect. Keep the capture settings and logs so the result can be reproduced.
Use the process after exporter changes as well as product edits. A tool update can alter appearance without a deliberate asset change. The final acceptance should identify what changed and why the new baseline is trusted, rather than treating the absence of a large pixel difference as proof that the product is unchanged.