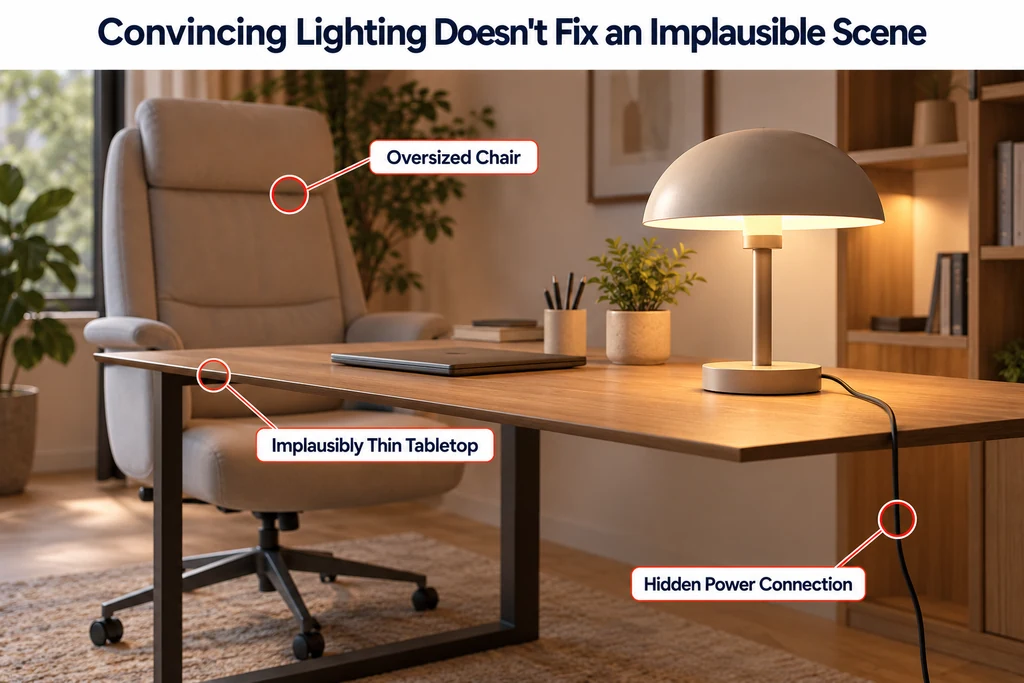
Consider a table lamp shown on a desk. The desk can explain height and working context. An oversized chair, an implausibly thin tabletop, or a hidden power connection can undermine that explanation even when the lighting looks convincing.
Define the contextual fact
Write what the environment adds to the image. It may show that a lamp fits beside a monitor or that a cabinet belongs in a compact room. Avoid implying precise fit from a decorative scene when the scene dimensions have not been approved.
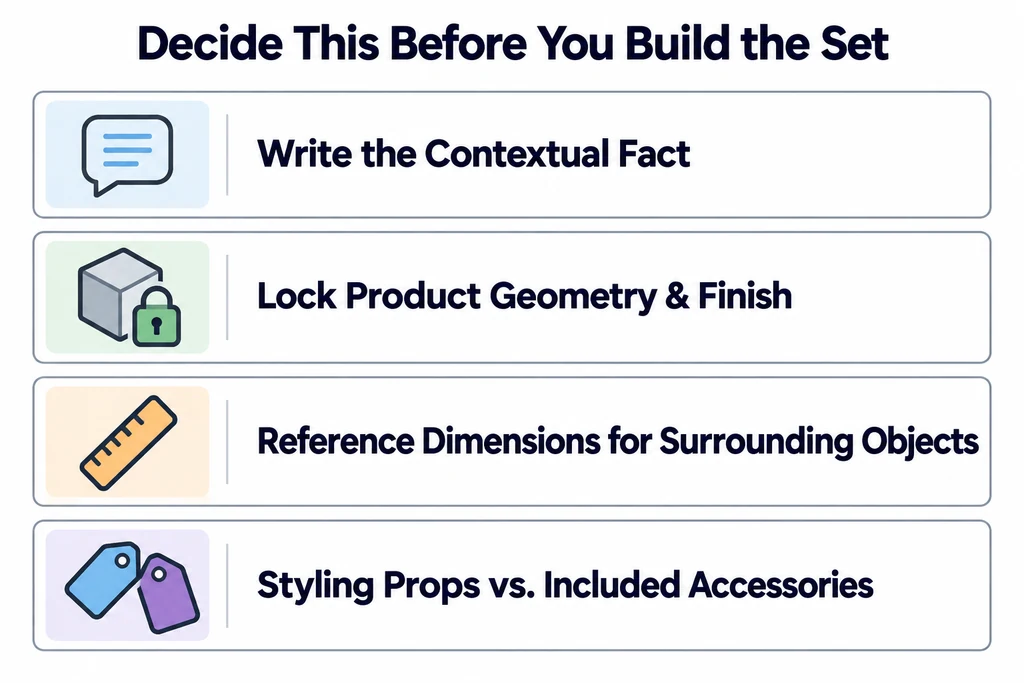
Lock the product geometry and finish before building the set. Keep reference dimensions for the surrounding objects that affect perceived scale. Distinguish optional styling props from accessories included with the product.
Block the room around a fixed product
Place simple volumes for the surface, wall, and major props. Select the camera before detailing the environment. Use the camera controls to establish framing, then examine whether the viewpoint exaggerates depth or hides the feature being sold.
Keep a neutral preview of the product available. Compare the contextual view with that preview after moving the camera or changing nearby surfaces. The product should not appear to have a different shape merely because a reflection obscures its edge.
Check the smallest intended delivery size early. A readable arrangement in a large render window can become cluttered on a product card. Remove secondary objects before making the product unnaturally large.
Add props with a specific purpose
Use each prop to establish a scale cue, explain a use case, or support composition. Remove objects that create competing focal points or ambiguous product bundles.
For the lamp example, a book may provide context. A bright decorative object directly behind the shade may obscure its outline. Move or remove the distraction instead of changing the approved shade finish to compensate.
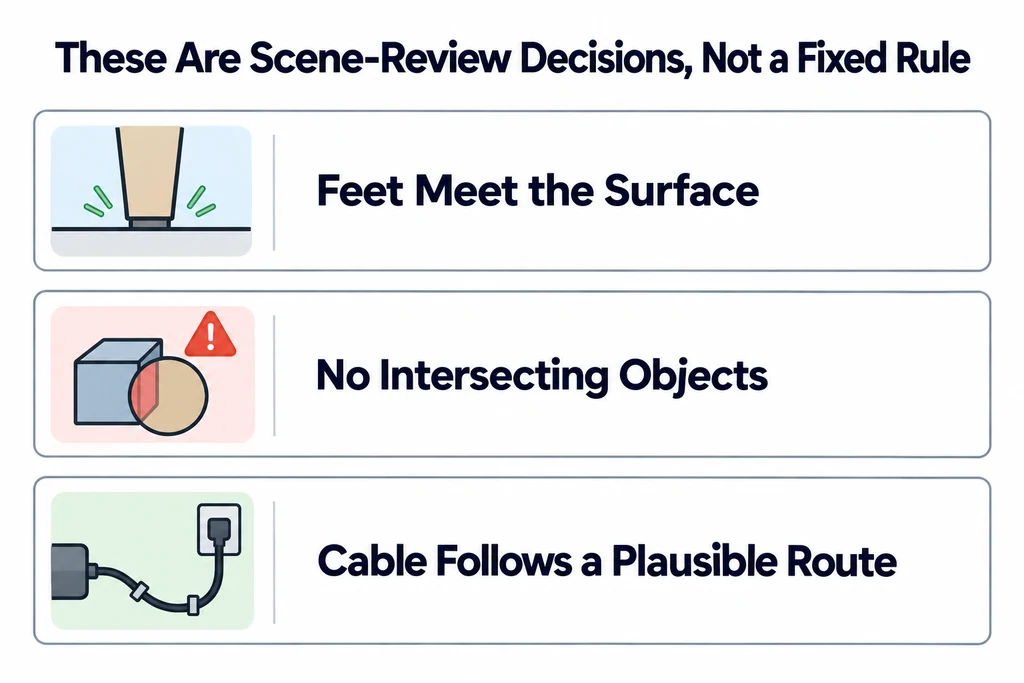
Inspect contact points. Feet should meet the support surface, objects should not intersect, and a cable should not disappear into an impossible route. These are scene-review decisions rather than a claim that every lifestyle composition needs the same physical arrangement.
Review styling against the product's job
| Scene choice | Useful purpose | Failure to watch for |
|---|---|---|
| Familiar prop | Establish use or approximate scale. | Suggesting an accessory is included. |
| Background surface | Separate the product's outline. | Reflection or color cast that changes the apparent finish. |
| Depth of field | Direct attention. | Hiding the mechanism or label the image needs to explain. |
| Warm or dramatic light | Establish the intended setting. | Losing the product's approved color and construction cues. |
For the desk lamp, approve a plain blockout before adding decoration. Check the shade height against the monitor and the base against the desktop dimensions. Then add only the props that improve that explanation.
Review the contact points and cable route in neutral shading before the final mood pass. If the product disappears at a small delivery size, simplify the environment or change the composition. Do not silently enlarge the lamp relative to the room just to recover emphasis.
Check the product before the atmosphere
Review the product with restrained grading before approving the final mood. Inspect important regions separately if needed. Blender's render passes support examination of render contributions, but compositing should not conceal a geometry error.
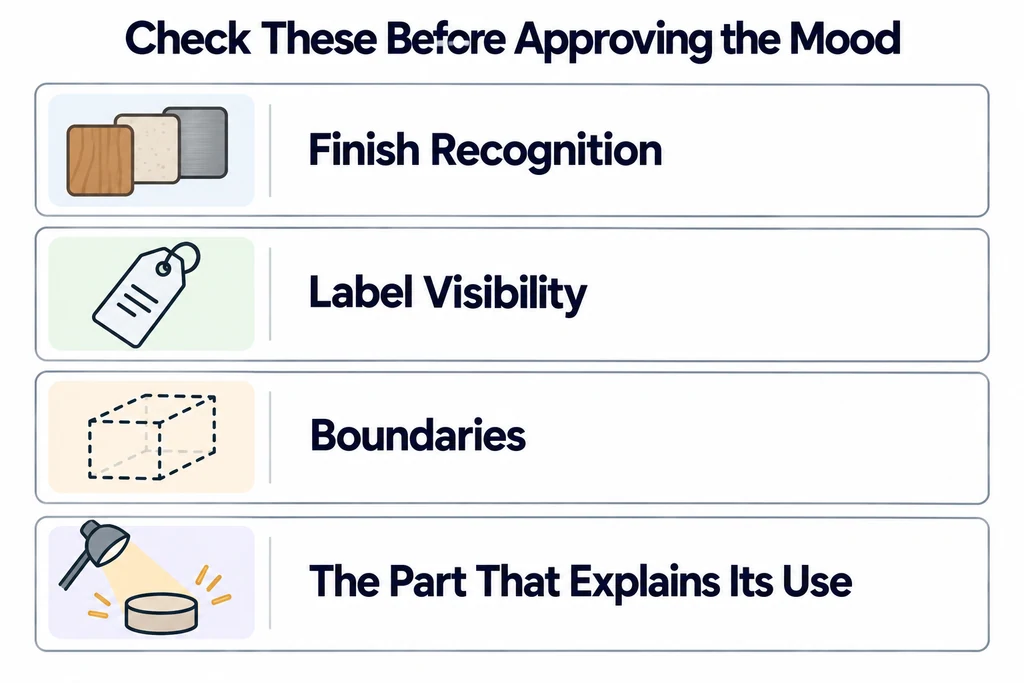
Check finish recognition, label visibility, boundaries, and the part of the product that explains its use. If the scene demands a stronger crop or darker treatment, confirm that the affected product information remains available in the intended image set.
Deliver the approved scene with the camera and product revision identified. Keep the contextual image distinct from dimensional or installation evidence. The environment can explain where the product belongs without promising that it fits every room represented by the styling.