Start with the page, not the renderer
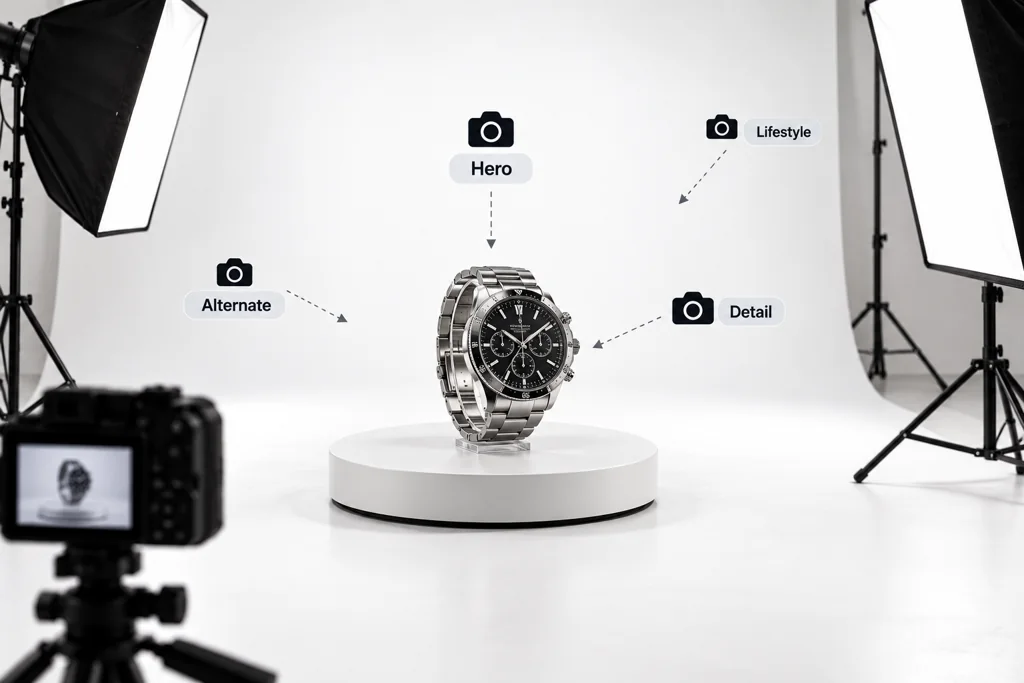
List the product-page modules that need an image. A hero image, an alternate angle, a finish comparison, a close detail, and a feature explanation have different jobs. Avoid producing many attractive images that all answer the same question.
Set a stable visual rule for the range. Decide the camera height, focal-length range, background style, contact shadow treatment, and product scale. A consistent system helps customers compare products and helps the team reuse approvals.
Give every frame a purpose
A clear shot list includes these fields:
View name.
Product configuration.
Customer question.
Camera direction and crop.
Background or environment.
Required material details.
Destination and aspect ratio.
Approval owner.
A close crop should point at a real construction or material detail. A wide lifestyle view should show a use context. If a frame has no distinct purpose, remove it before it becomes review work.
Keep configuration visible
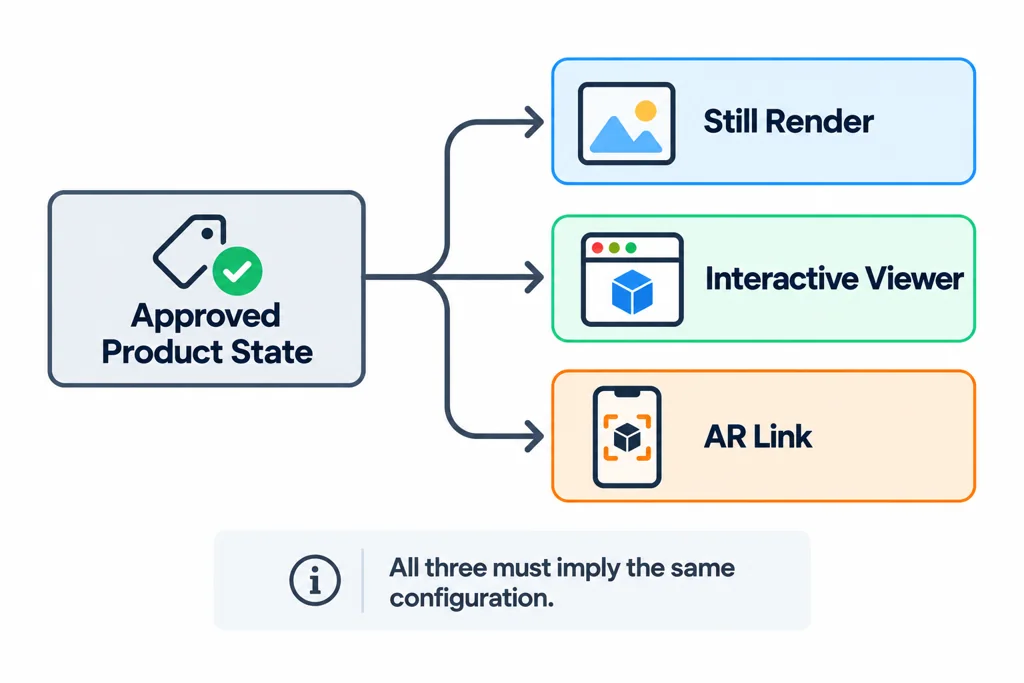
When a product has colors, sizes, or accessories, record which variant each image shows. Do not reuse a hero view for several finishes when the material difference matters to the purchase decision.
The same rule applies to a web 3D asset. Names for materials and product options should map to the chosen product state so that a still render, interactive viewer, and AR link do not imply different configurations.
Fill in a shot record before rendering
| View | Customer question | Required product state | Approval evidence |
|---|---|---|---|
| Hero | What is the product's form and finish? | Named default SKU and accessories. | Approved silhouette, finish, and crop. |
| Detail | What does this surface or control show? | Same revision, with the relevant feature visible. | Readable marking or material cue. |
| Alternate angle | What cannot be seen in the hero view? | Matching configuration. | Rear, side, or underside information. |
| Context | How is the product used or placed? | Correct dimensions and included components. | Credible surroundings without an implied fit guarantee. |
Add the actual destination, aspect ratio, output size, camera, and reviewer to each record. These examples are not a requirement to render four images for every product.
Review a rough contact sheet before final shading. If two frames answer the same question, remove one or give it a distinct purpose. The repeated planning illustration has been reduced to one occurrence; it does not need a replacement merely to preserve the former image count.
Review a representative set first
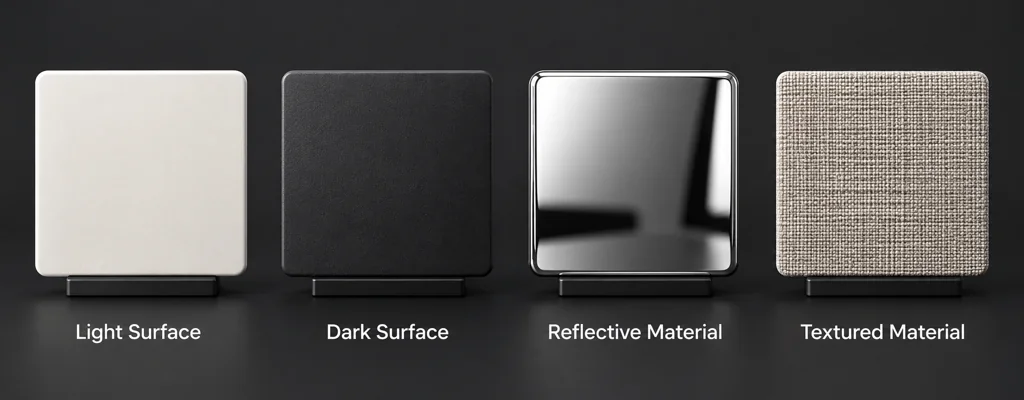
Approve a small set before rendering the full catalog. Include a light surface, dark surface, reflective material, and textured material if the range contains them. This reveals lighting and material problems before they multiply across every SKU.
A shot list gives the render team a target and gives the product team a way to review purpose instead of taste alone.